Click here for cPanel instructions.
Click here for DirectAdmin instructions.
1. Log in to your cPanel account.
For instructions on how to log in to your cPanel account, please click here.
2. Under the Softaculous Apps Installer section, click WordPress.

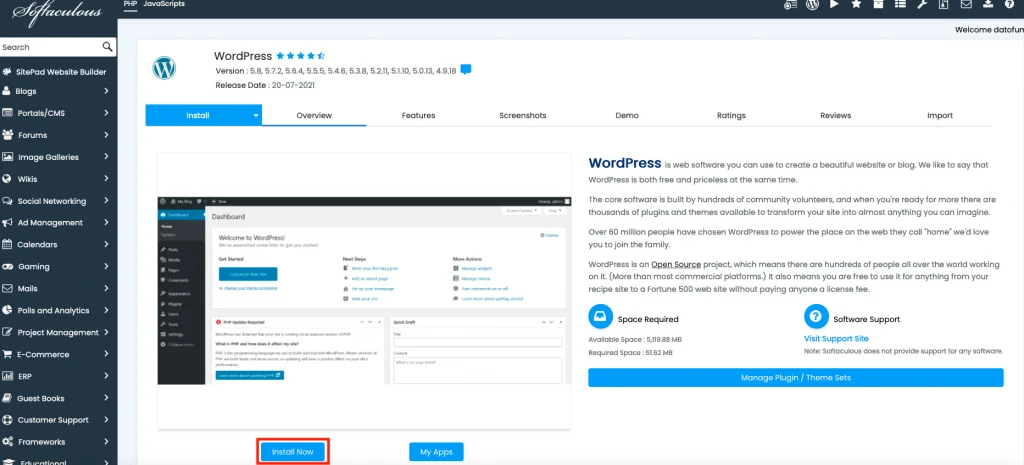
3. It will present you with the Softaculous page for WordPress. Click the Install Now button.

4. Go to the Choose Installation URL drop-down list and select the domain you wish to install on WordPress.

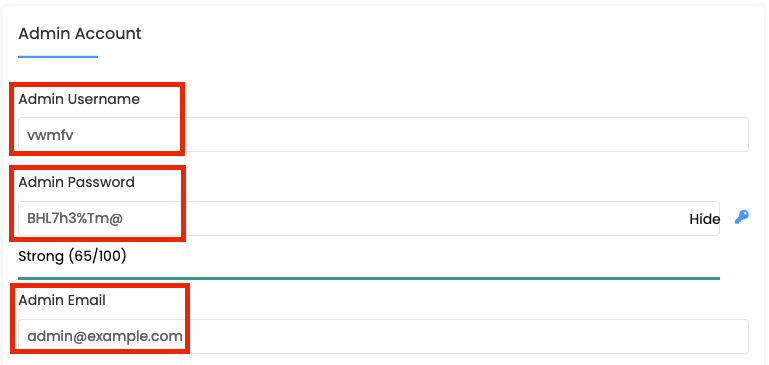
5. Under Admin Account, you can set up your Admin Username and Admin Password. You should also enter an Admin Email to receive any updates.
Note: Make sure to note down your Admin Username and Admin Password. You will need these to log in to your WordPress backend.

6. Scroll down and click on the Install button.

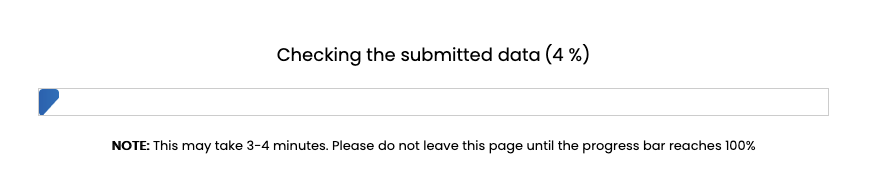
7. Wait for the loading bar to finish.
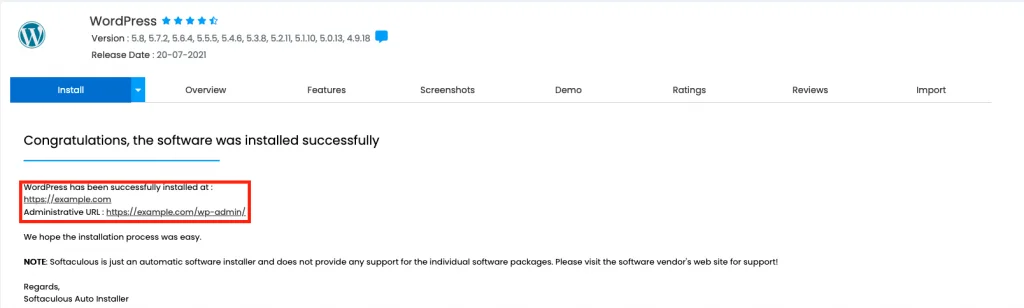
8. Once completed, the following screen will show a link to access your website and a link to access the WordPress backend.

1. Log in to your DirectAdmin account.
For instructions on how to log in to your DirectAdmin account, please click here.
2. Under Softaculous Apps Installer, click WordPress.

3. It will present you with the Softaculous page for WordPress. Click the Install Now button.
4. Go to the Choose Installation URL drop-down list and select the domain you wish to install on WordPress.

5. Under Admin Account, you can set up your Admin Username and Admin Password. You should also enter an Admin Email to receive any updates.
Note: Make sure to note down your Admin Username and Admin Password. You will need these to log in to your WordPress backend.
6. The following settings are optional:
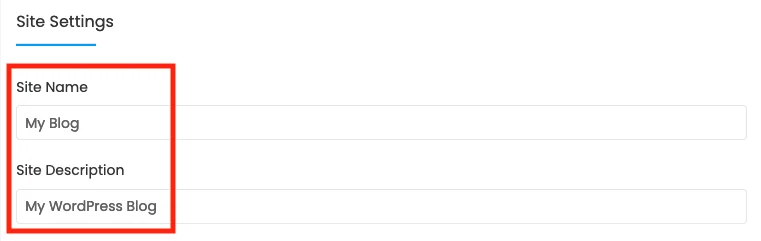
Under Site Settings, you can edit your site name and description.
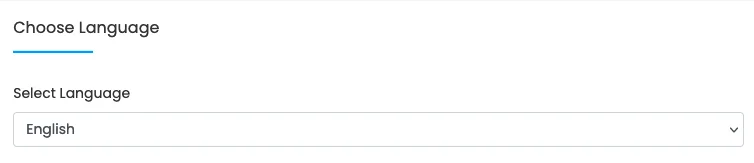
Under Choose Language, you can select the language in which you want WordPress to be installed.
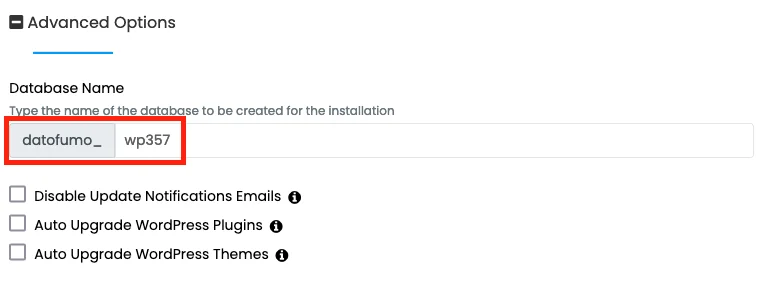
Under Advanced Options, you can modify the name of the database that will be created.
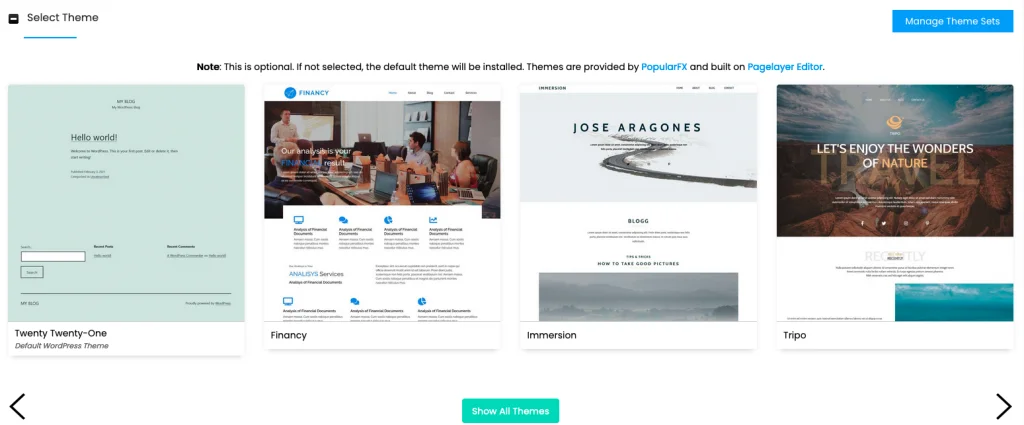
Under Select Theme, you can select different themes to install for your website template.
7. Scroll down and click on the Install button.

8. Wait for the loading bar to finish.
9. Once completed, the following screen will show a link to access your website and a link to access the WordPress backend.