Note: This guide requires the All-In-One WordPress Migration Unlimited Extension Plugin, a paid plugin.
Ensure your A record/nameservers point to the old host.
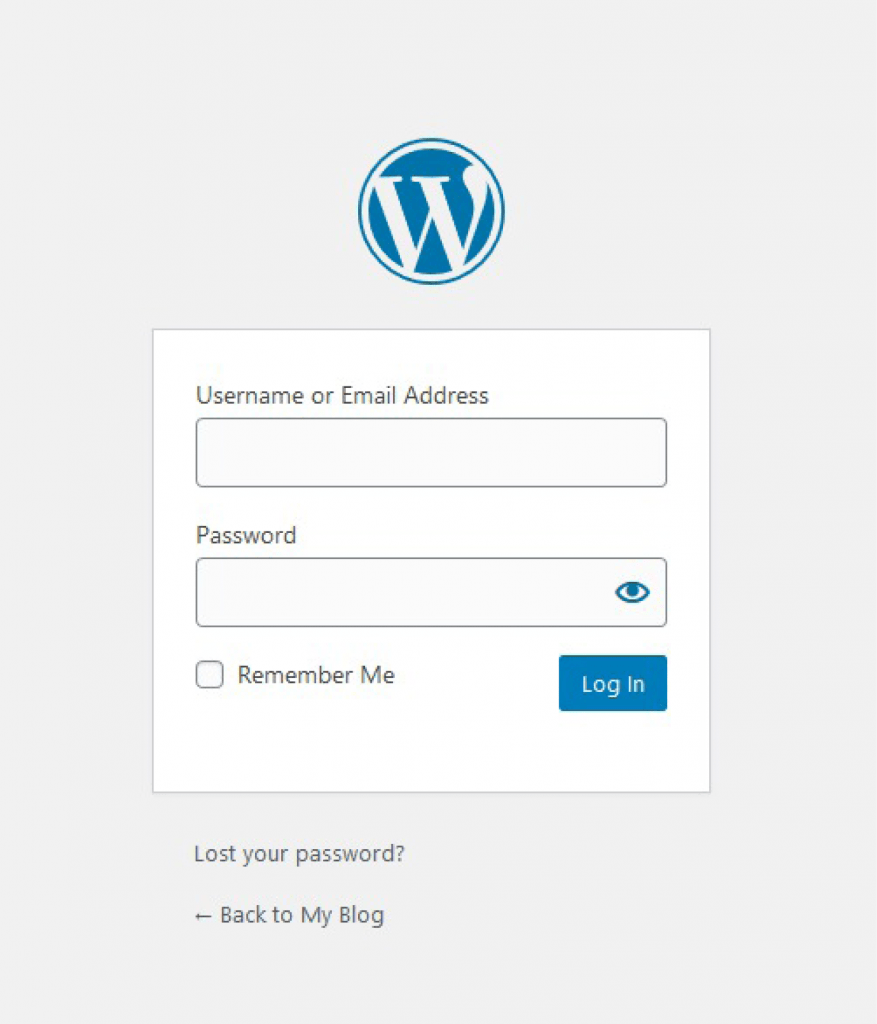
1. Log in to your WordPress admin account.
For instructions on how to log in to your WordPress account, please click here.
2. On the left-hand side panel, hover over the Plugins tab, then click Add New.

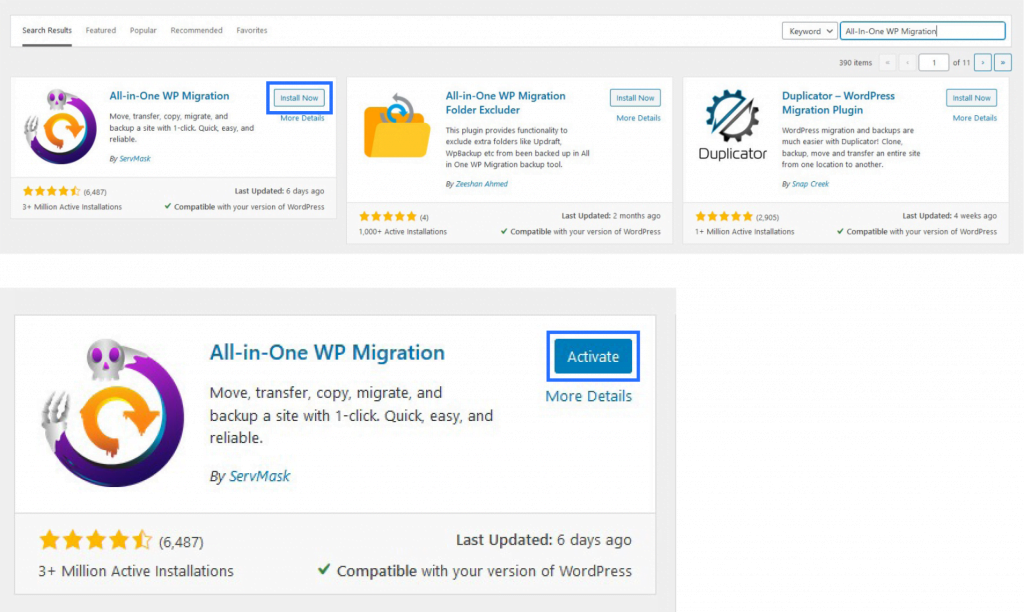
3. Search for the plugin called All-In-One WP Migration. Click Install Now, then click Activate.
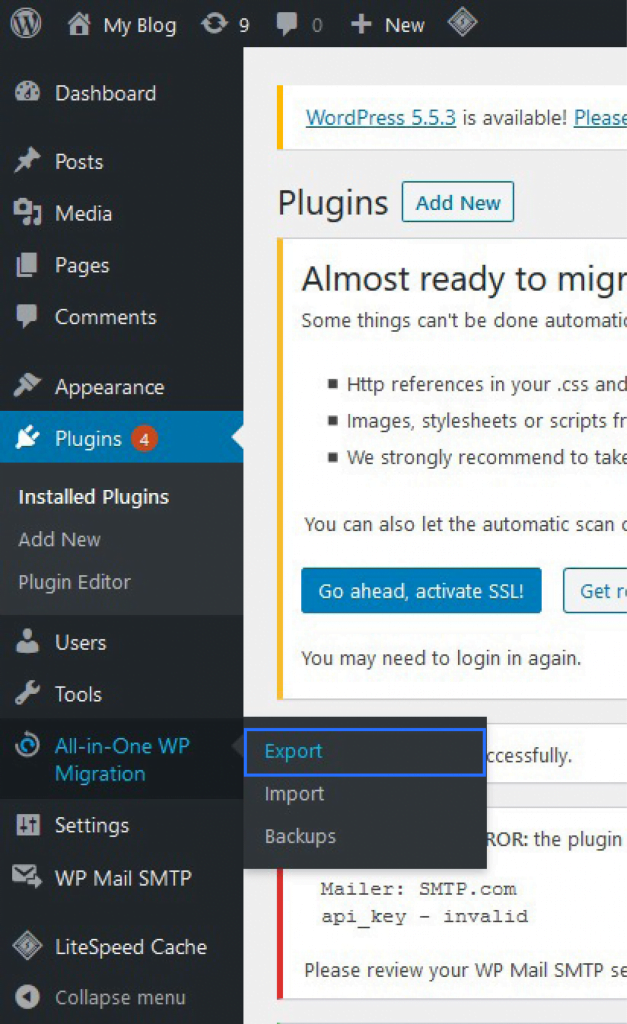
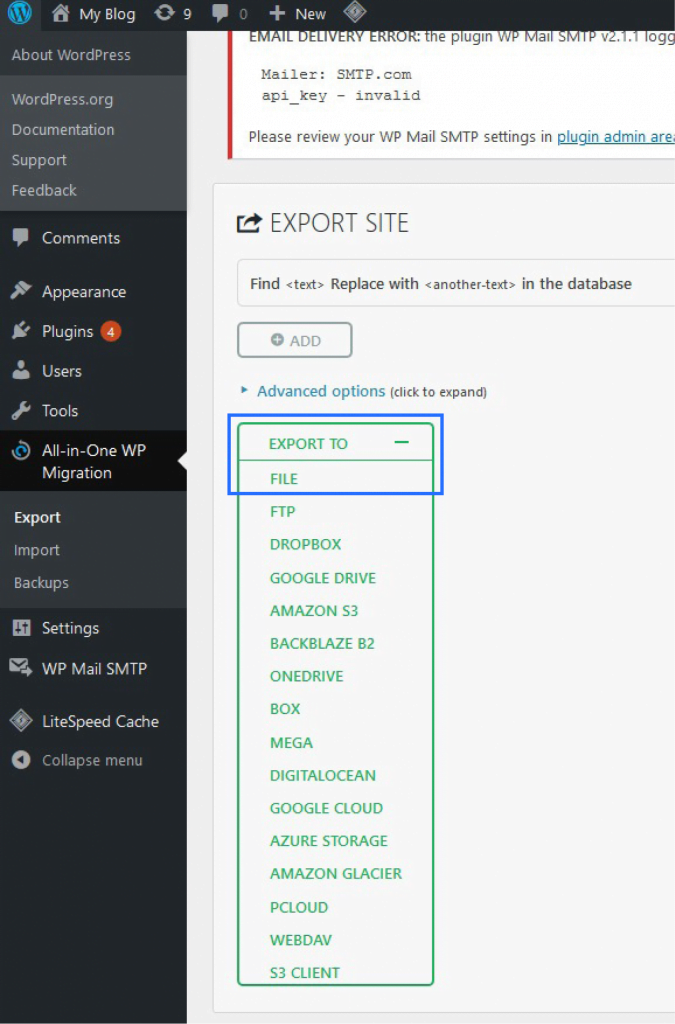
4. Go back to the left-hand side panel, hover over All-In-One WP Migration, then click Export.
5. Under the Export Site section, click the Export To drop-down box, then select File.
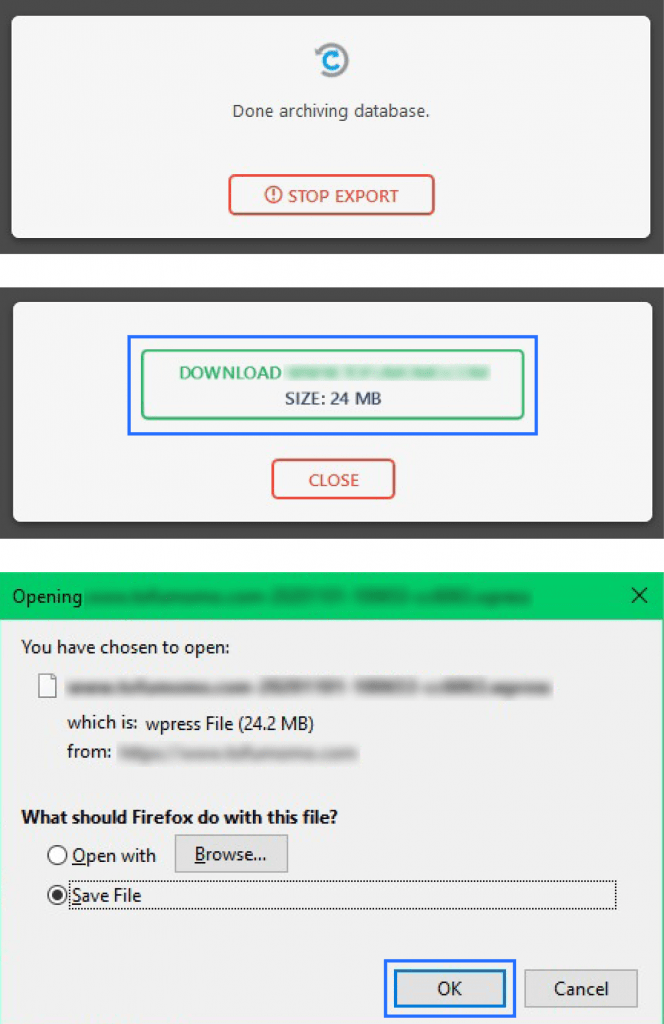
6. The exporting will begin. Once completed, it will prompt you to download the file. Click Download and save the file.
First, you must change your domain's IP to the new server IP using your local host file.
To do this, follow the guides below:
You must also install WordPress on your current hosting panel. You can do this using Softaculous.
For instructions on how to install WordPress with Softaculous, please click here.
You can continue the upload process now that you have completed the prerequisites.
1. Log in to your WordPress admin account using the admin details you created on your new hosting server.
For instructions on how to log in to your WordPress account, please click here.
2. On the left-hand side panel, hover over the Plugins tab, then click Add New.
3. Search for the plugin called All-In-One WP Migration. Click Install Now, then click Activate.
4. Go back to the left-hand side panel, hover over All-In-One WP Migration, then click Import.

5. Under the Import Site section, upload the WordPress file downloaded previously from your losing host. You can drag the file directly into the import section or click Import From to upload your files.
Note: You must review your PHP settings if you have issues uploading and restoring the website due to time-out or upload size errors. For cPanel users, log in to your cPanel account, then go to Multi PHP ini Editor. For DirectAdmin users, log in to your DirectAdmin account, then go to Select a PHP, then the Extensions tab.

6. Once the upload has been completed, you must install the All-In-One WordPress Migration Unlimited Extension plugin. To do this, go back to the left-hand side panel, hover over Plugins, and then click Add New.
7. Click the Upload Plugin at the top of the page to upload your All-In-One WordPress Migration Unlimited Extension plugin. Click the Choose file button, select your file, then click the Install Now button.
8. Once the plugin has finished installing, it will request you to activate the plugin. Click the Activate Plugin button.
9. It will direct you back to the Plugins page. Look for the All-In-One WordPress Migration Unlimited Extension plugin, then click Check for updates.
10. Once it has found an update, click update now.
11. You will receive a notification when the update is complete.
12. Now, you can proceed with restoring the backup file. Go back to the left-hand side panel, hover over All-In-One WP Migration, and then click Backups.
13. Click the three dots for the backup, then click Restore.
14. It will advise that the import process will remove the old website (referring to the blank WordPress website you just installed). Click the Proceed button.

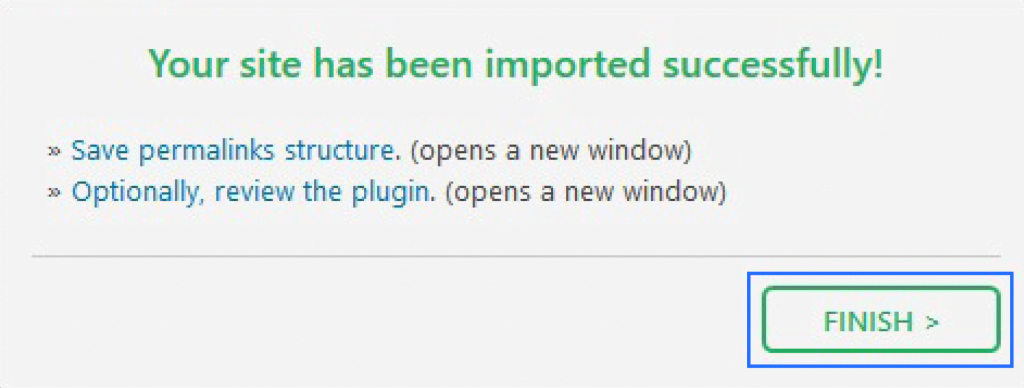
15. Once the backup is restored, the migration is completed. Click the Finish button.