When migrating your website, you must manually move across the website files and database.
Follow these steps to migrate your website files via File Manager and phpMyAdmin in cPanel:
Part 1A: Backing up the Website Files
1. Log in to your losing host’s cPanel account.
For instructions on how to log in to your cPanel account, please click here.
2. Under the Files section, click File Manager.

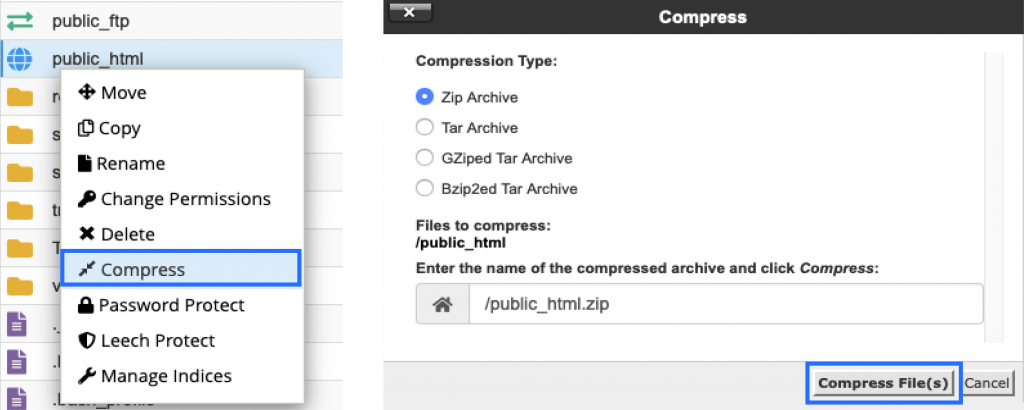
3. You need to zip up the folder for your website files (most commonly in your public_html folder). Right-click the folder you wish to zip up, then click Compress. Select Zip Archive, then click the Compress File(s) button.
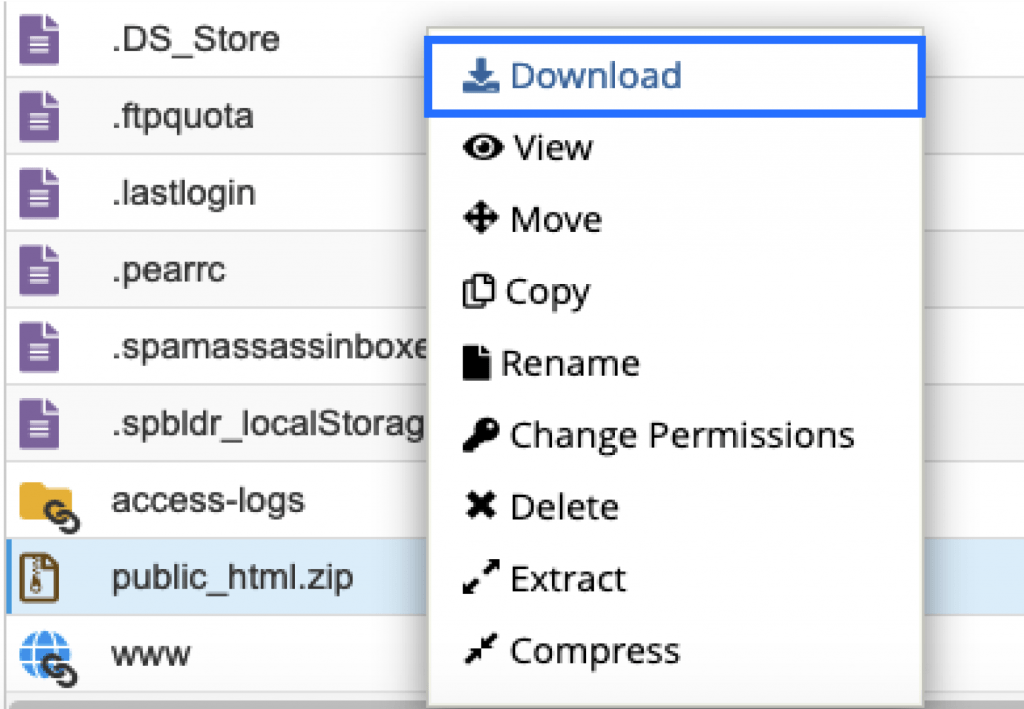
4. Right-click the compressed zip file, then click Download.
Part 1B: Backing up the Database
1. Log in to your losing host’s cPanel account.
For instructions on how to log in to your cPanel account, please click here.
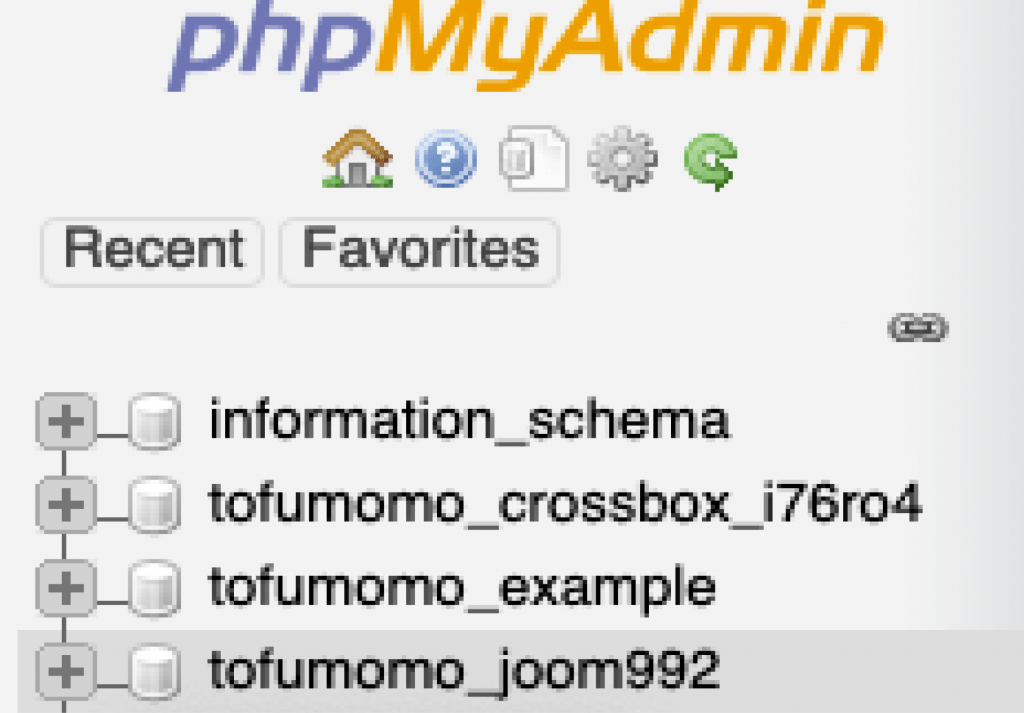
2. Under the Databases section, click phpMyAdmin.

3. Select the database associated with your website.
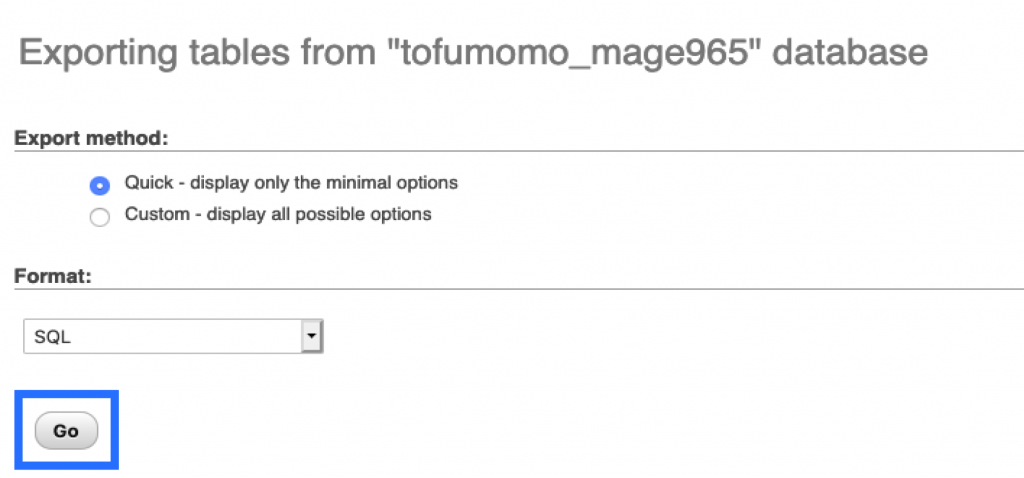
4. Click Export.
![]()
5. Click the Go button and save the file to your computer.
Part 2A: Restoring Your Website Files
1. Log in to your new hosting cPanel account.
For instructions on how to log in to your cPanel account, please click here.
2. Under the Files section, click File Manager.
3. While in the Home Directory of your account, click Upload. (It will open up a new tab.) Upload the zip file that was previously saved from your old hosting account.

4. Once completed, return to the File Manager page, right-click the zip file, then click Extract.
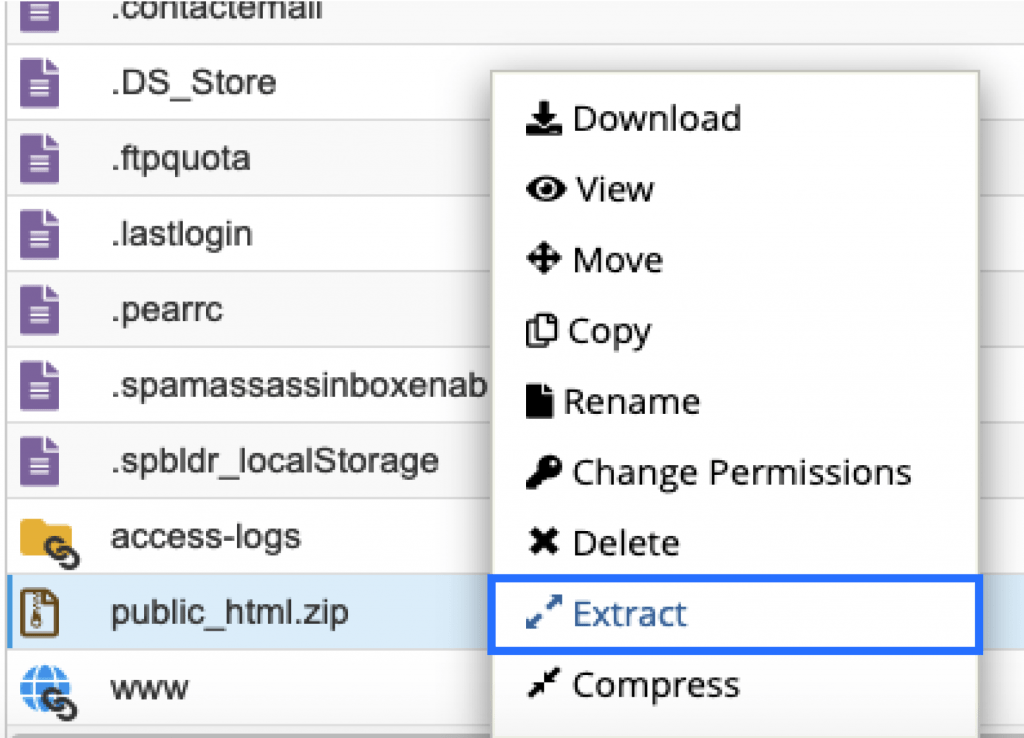
5. Click the Extract File(s) button. (It will update any folders with the contents of the zip file. In this case, the public_html folder will be updated with the new files.)

Part 2B: Restoring Your Database
You will need to create a new database to import the file from your old host.
1. Log in to your new hosting cPanel account.
For instructions on how to log in to your cPanel account, please click here.
2. You must create a database.
For instructions on how to create a database, please click here.
3. Return to cPanel; under the Databases section, click phpMyAdmin.
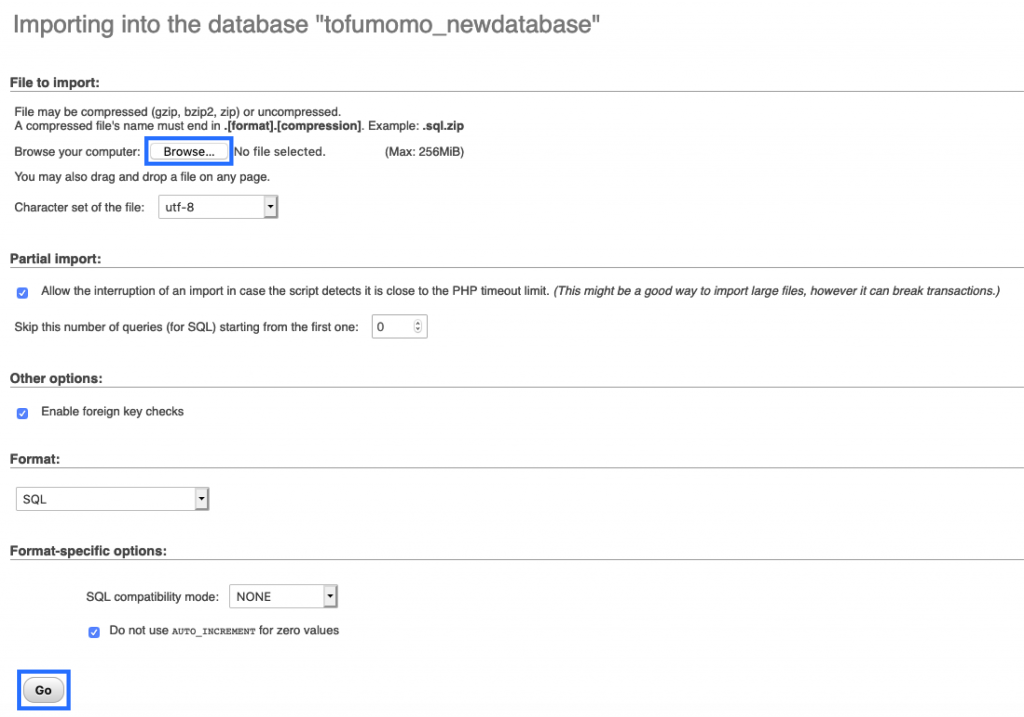
4. Click on the database you created, then click Import.
![]()
5. Click the Browse… button, select the database file to upload, then click the Go button.
6. Once it has finished importing, you must update your WordPress file to read the new name of the database you created. Importing the database only imports the database entries.
For instructions on how to view/change which database your WordPress website is referencing, please click here.