A staging site is often used as a testing environment before sites or changes to a site are pushed to live.
You will need to create a subdomain/staging domain before you can proceed with creating the staging site. You can follow this guide on how to create a subdomain/staging domain. Click here.
If you are looking to create a brand new site on a staging domain, you can install WordPress on your staging subdomain. See our guide on how to install WordPress. Click here.
If you want to create a staging environment for an existing website, continue below:
Click here for cPanel instructions.
Click here for DirectAdmin instructions.
1. Log in to your cPanel account.
For instructions on how to log in to your cPanel account, please click here.
2. Under the Software section, click WordPress Manager by Softaculous.

3. Softaculous will open the WordPress installer page.

4. Scroll down to Current Installations, then click the Create Staging icon for the website that you wish to make a duplicate/staging site.

5. Fill in the form to continue.
Note: The installation URL will default to the domain ‘staging.domainname’. If you wish to have another subdomain name for the staging site, you must create the subdomain before this.
Live Installation URL: The URL/Website you will be creating a staging site from.
Installation URL: The URL/Website/Domain name on which you want the WordPress site installed.
Database Name: The name of your database.
Click the Create Staging button once the form has been filled out.

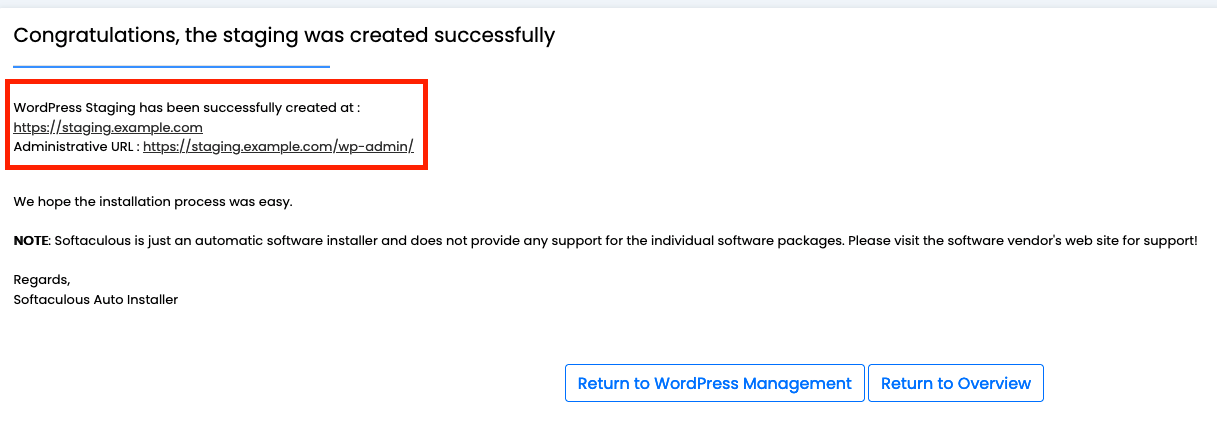
6. When the staging website has been created, you will be taken to the next page with the details of the staging website’s login URL. The login credentials will remain the same as the site it was copied from.
1. Log in to your DirectAdmin account.
For instructions on how to log in to your DirectAdmin account, please click here.
2. Under Softaculous Apps Installer, click WordPress.

3. Softaculous will open the WordPress installer page.
4. Scroll down to Current Installations, then click the Create Staging icon for the website that you wish to make a duplicate/staging site.
5. Fill in the form to continue.
Note: The installation URL will default to the domain ‘staging.domainname’. If you wish to have another subdomain name for the staging site, you must create the subdomain before this.
Live Installation URL: The URL/Website you will be creating a staging site from.
Installation URL: The URL/Website/Domain name on which you want the WordPress site installed.
Database Name: The name of your database.
Click the Create Staging button once the form has been filled out.
6. When the staging website has been created, you will be taken to the next page with the details of the staging website’s login URL. The login credentials will remain the same as the site it was copied from.