By default, remote desktop services are not configured on the windows operating system.
To enable this feature, you'll need to access the VPS and enable this feature.
The guide will consist of 3 parts.
Disabling Windows Firewall (This is required to allow incoming connections)
Installing RDP role
Enabling Remote Desktop
Follow the guide below to enable RDP on your Windows VPS.
- Access your windows VPS VNC.
- Login to Windows.
Note: Refer to your VPS account information email for the password.

- Disable Windows Firewall.
- Use the windows search bar to search and select Windows Defender Firewall.
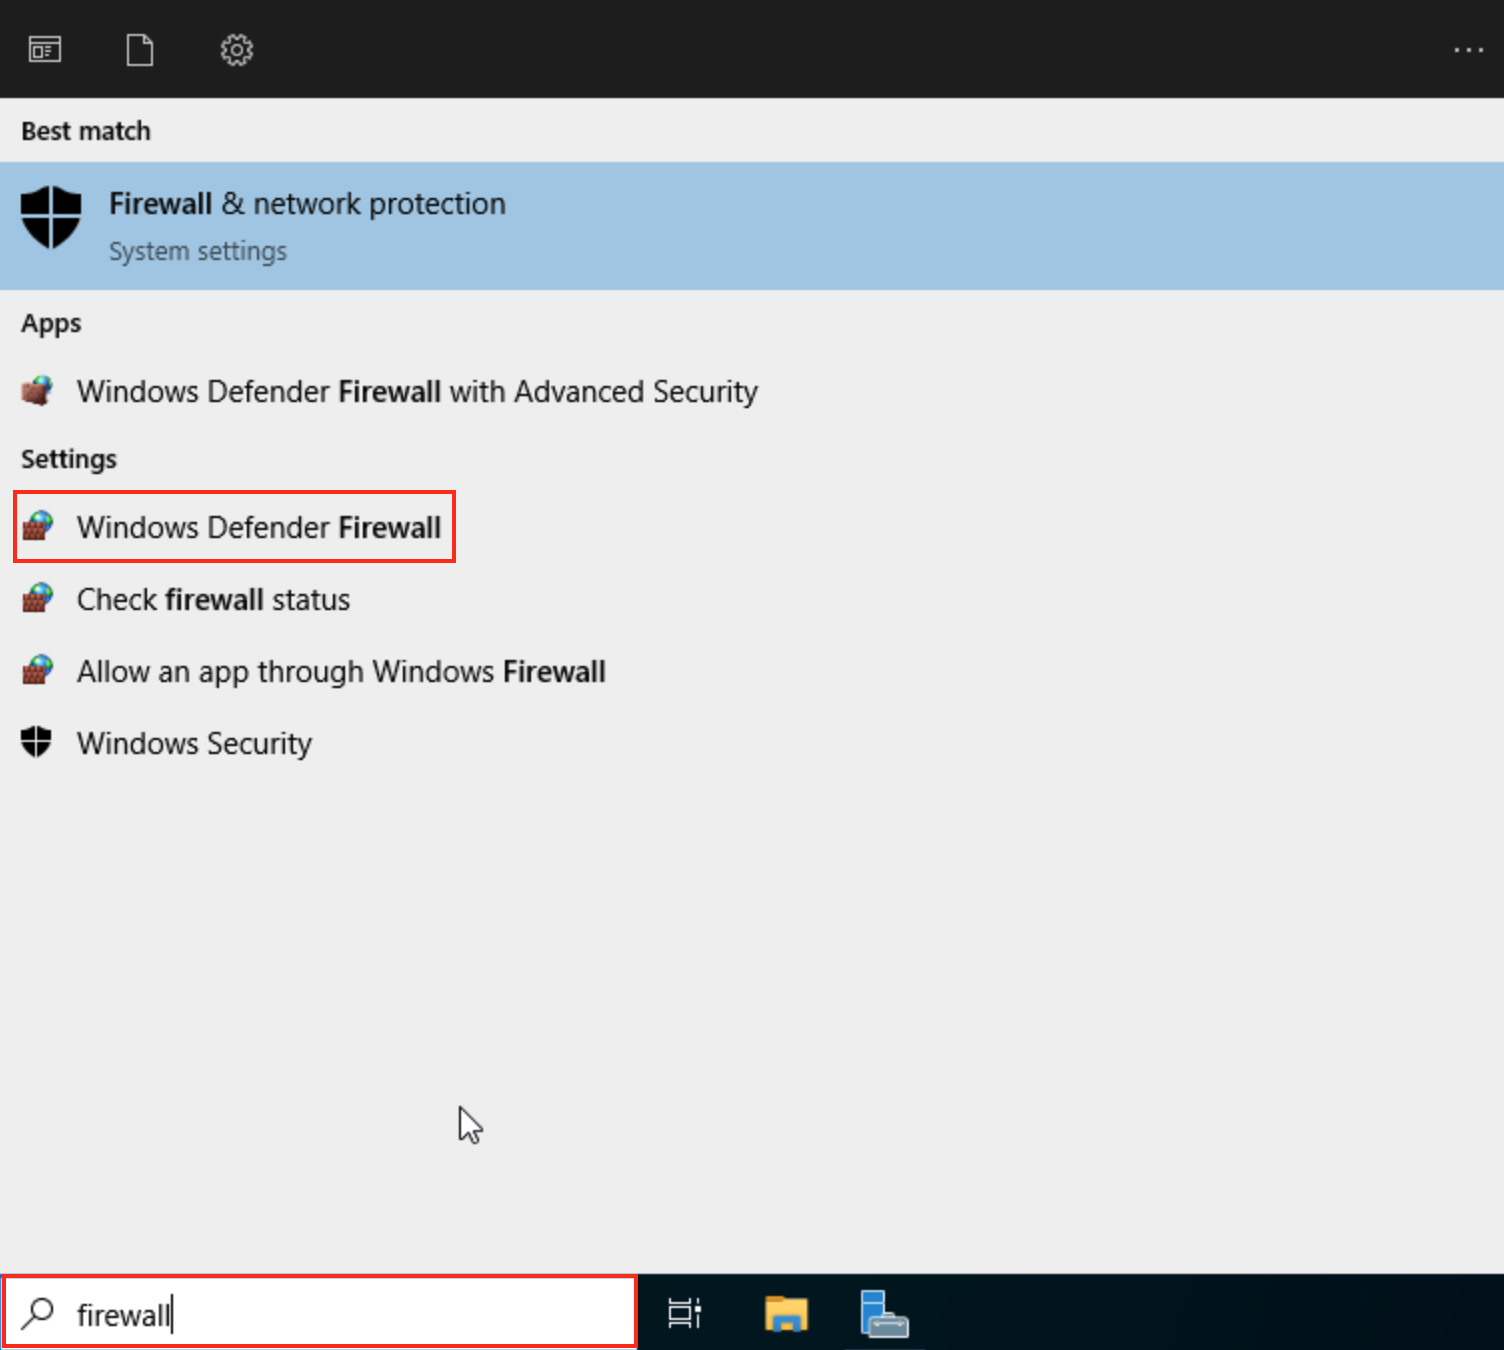
- Click on Turn Windows Defender Firewall on or off on the left hand panel.
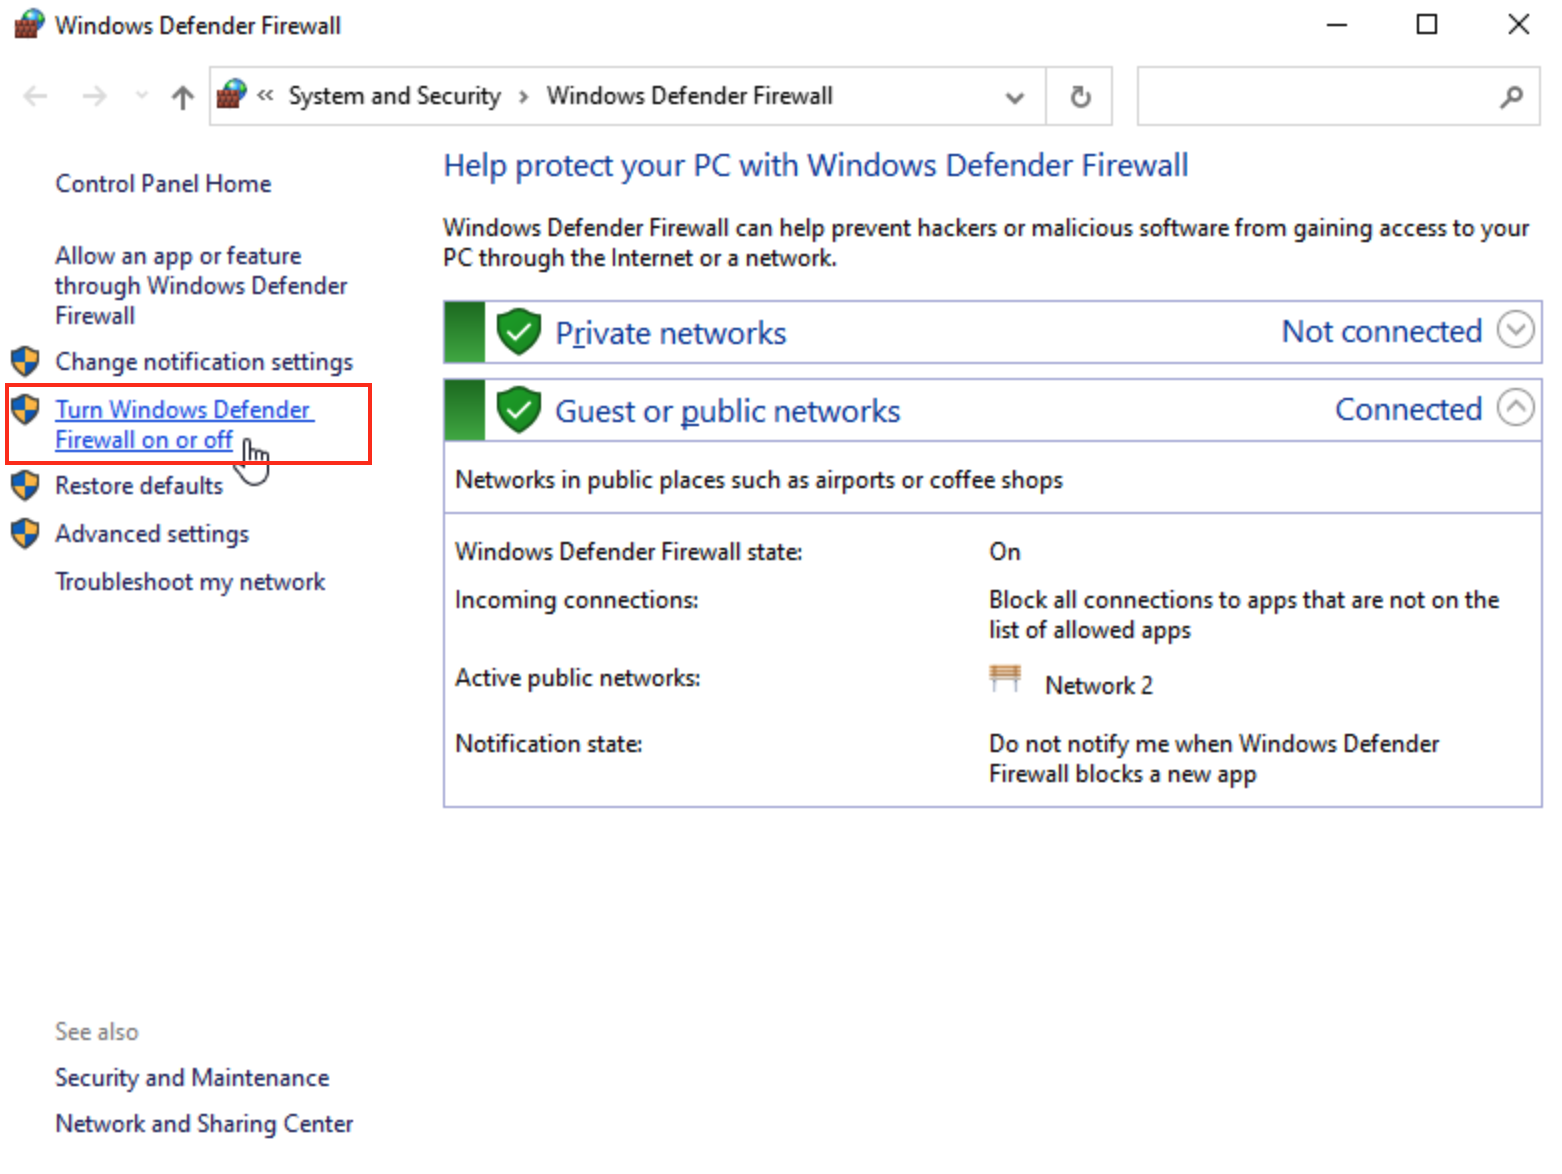
- Select the Turn off Windows Defender Firewall for both Private and Public networks and click the OK button.

- Install Remote Desktop (RDP) Roles.
- In Server Manager, you may be presented with a Windows Admin Center popup. You can click the X button.

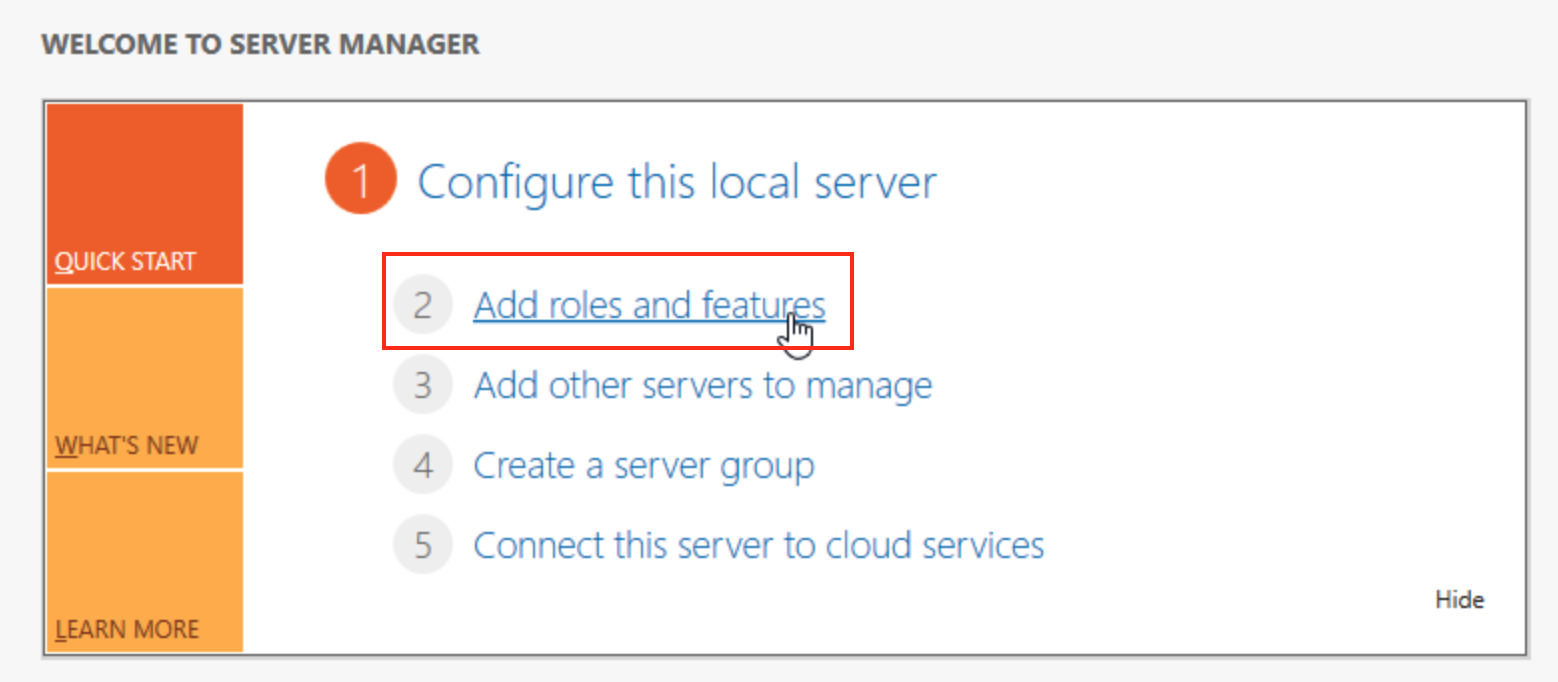
- Under Configure This Local Server, click on Add Roles and Features.
- Follow through The Add rolls and Features Wizard.
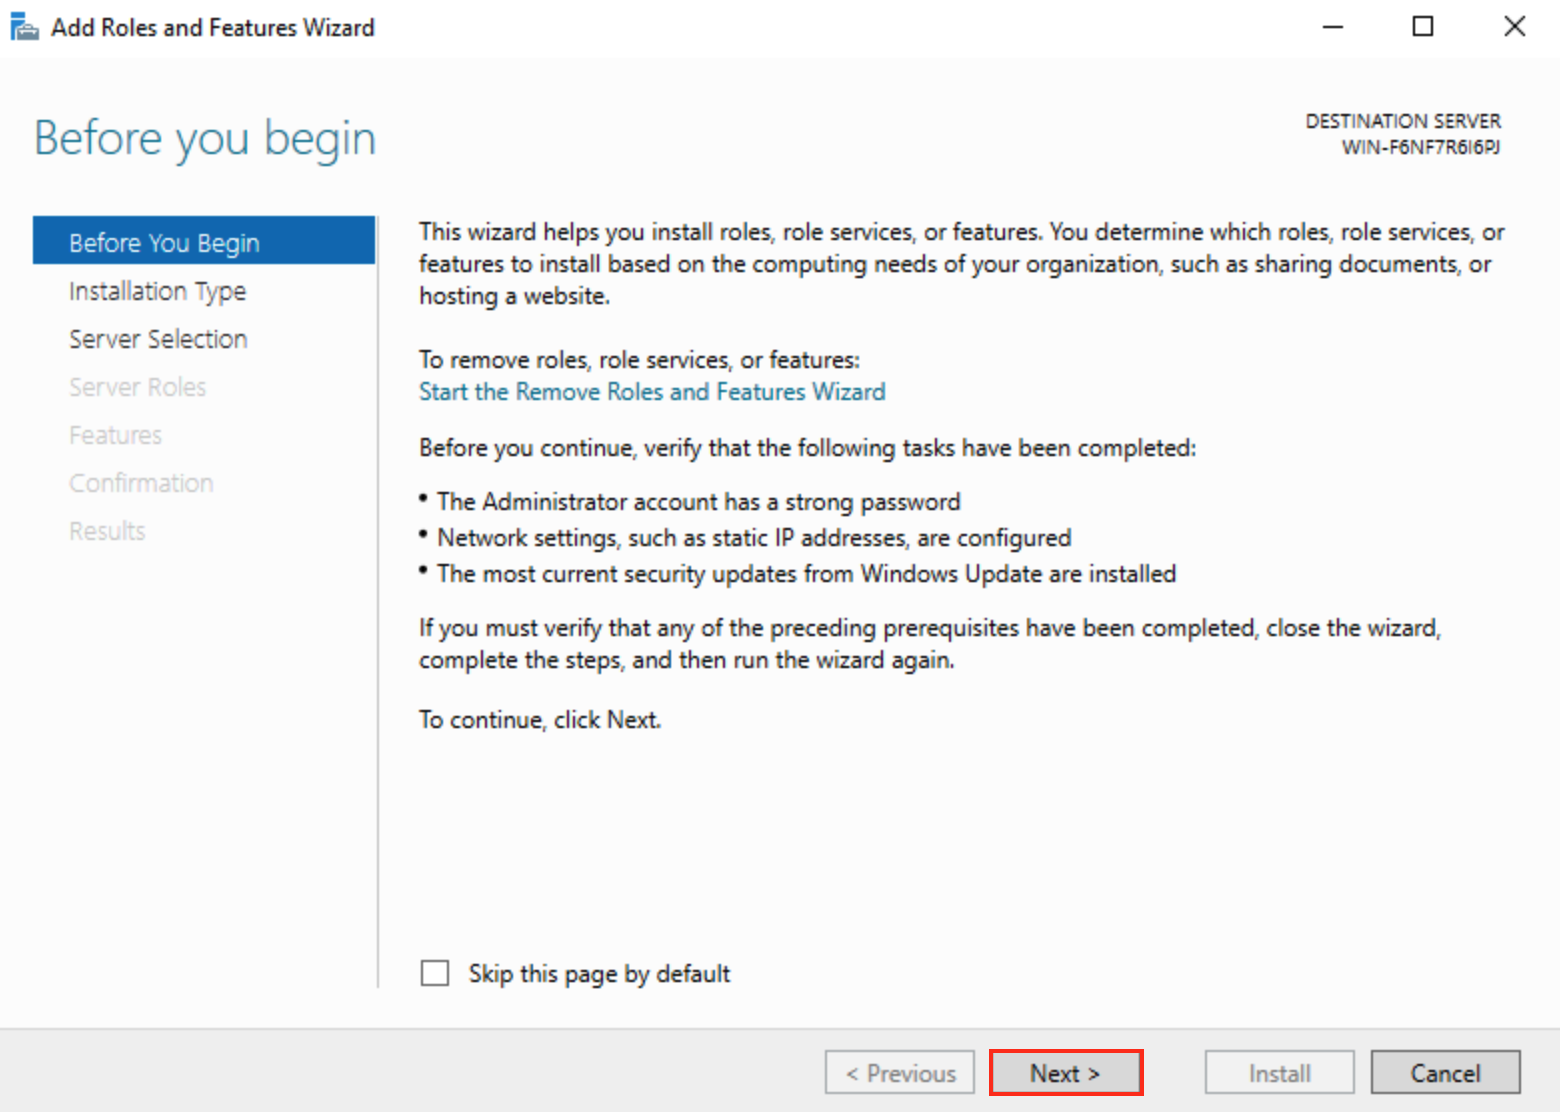
- Before you begin -
click Next >
- Installation type -
Select Role-based or feature-based installation, and click Next >

- Server Selection -
Choose the Select a server from the server pool, then click on the server to configure and click Next >

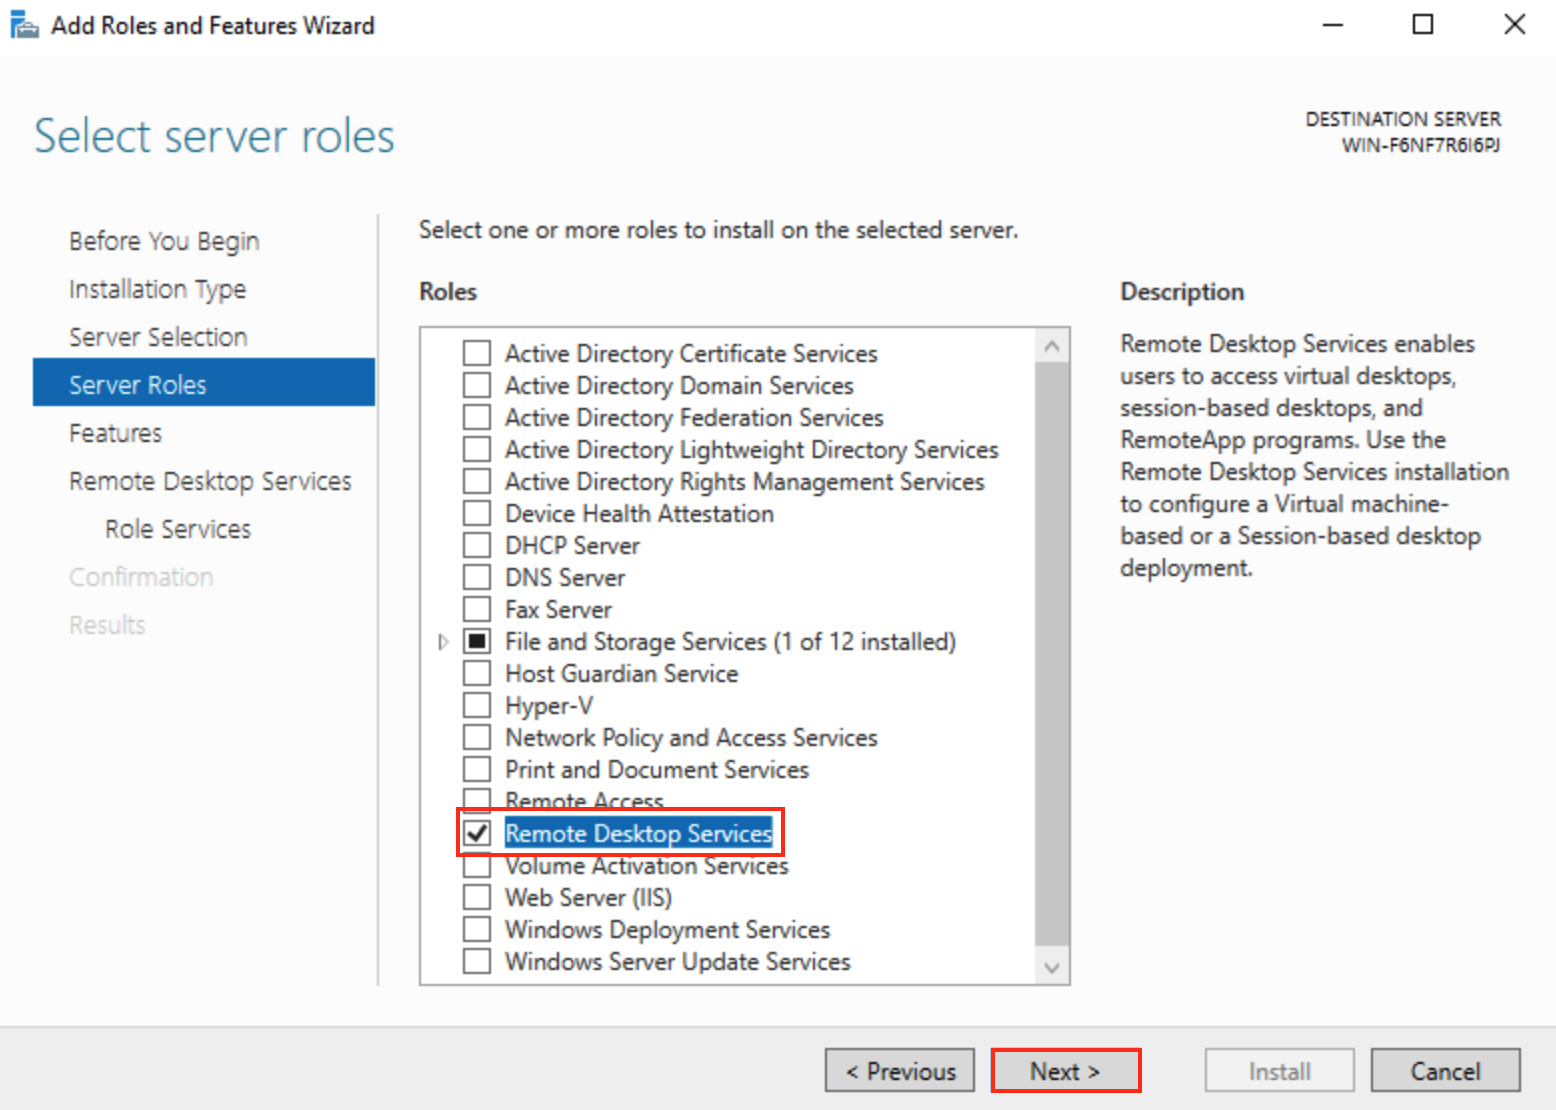
- Server Roles -
Tick the option for Remote Desktop Services and click Next >
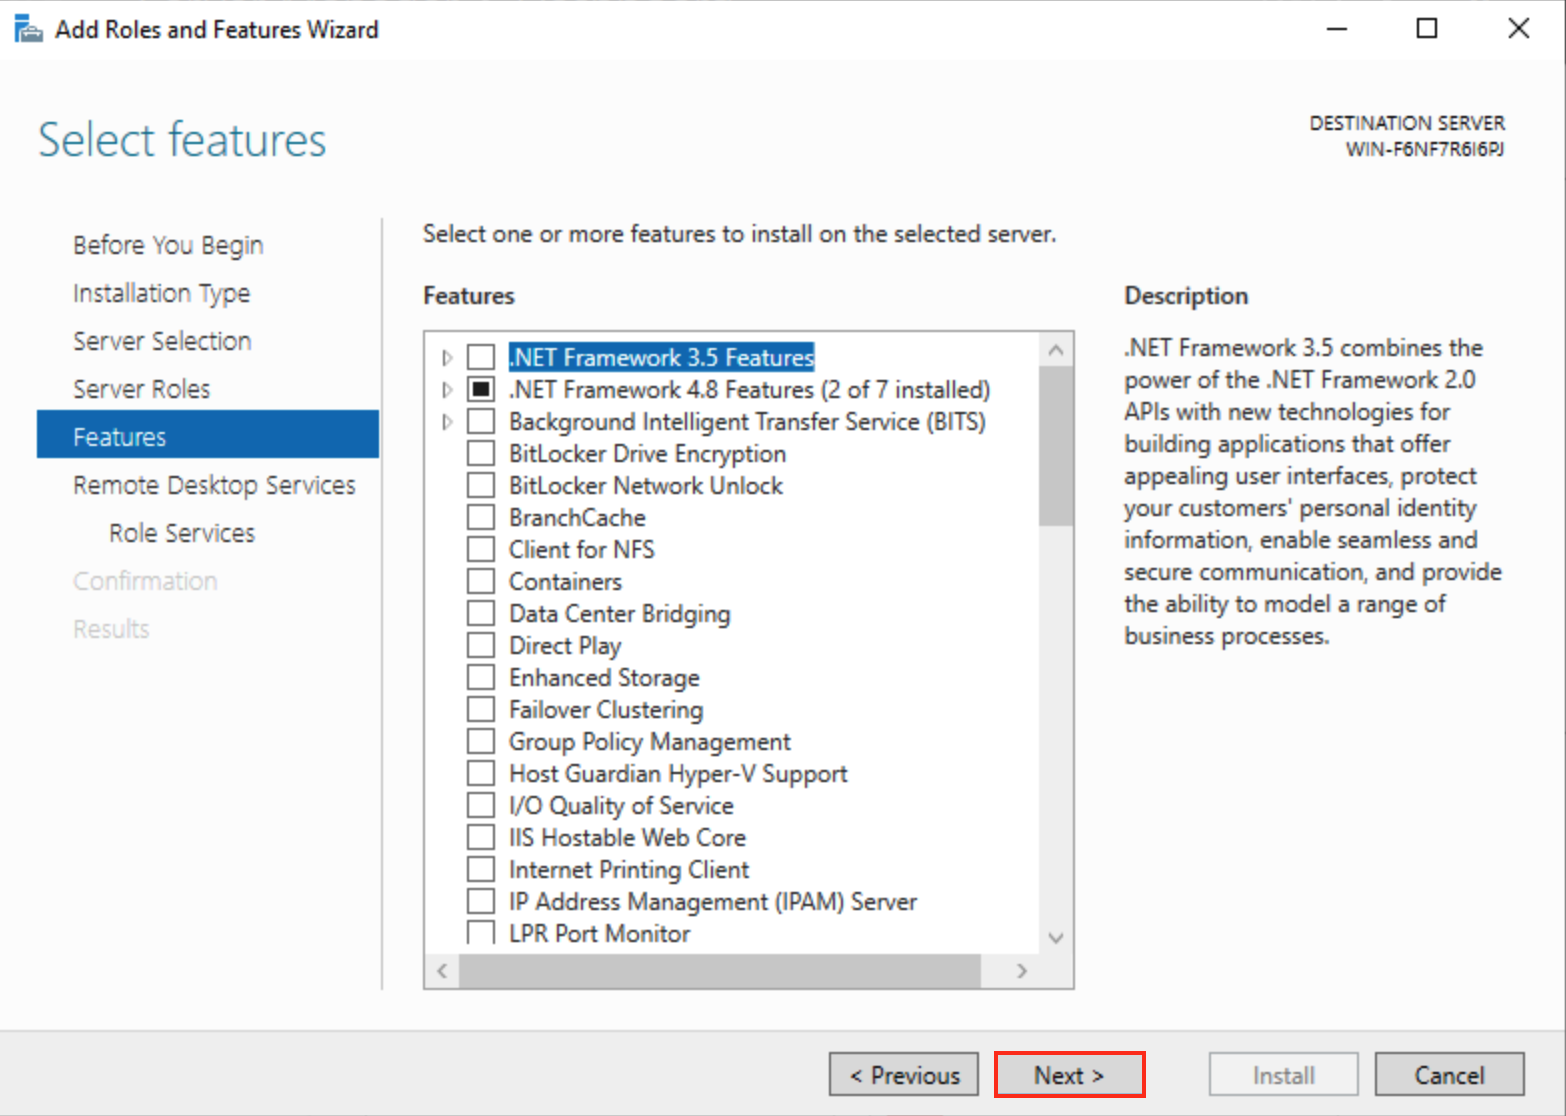
- Features -
No extra features are required, click Next >
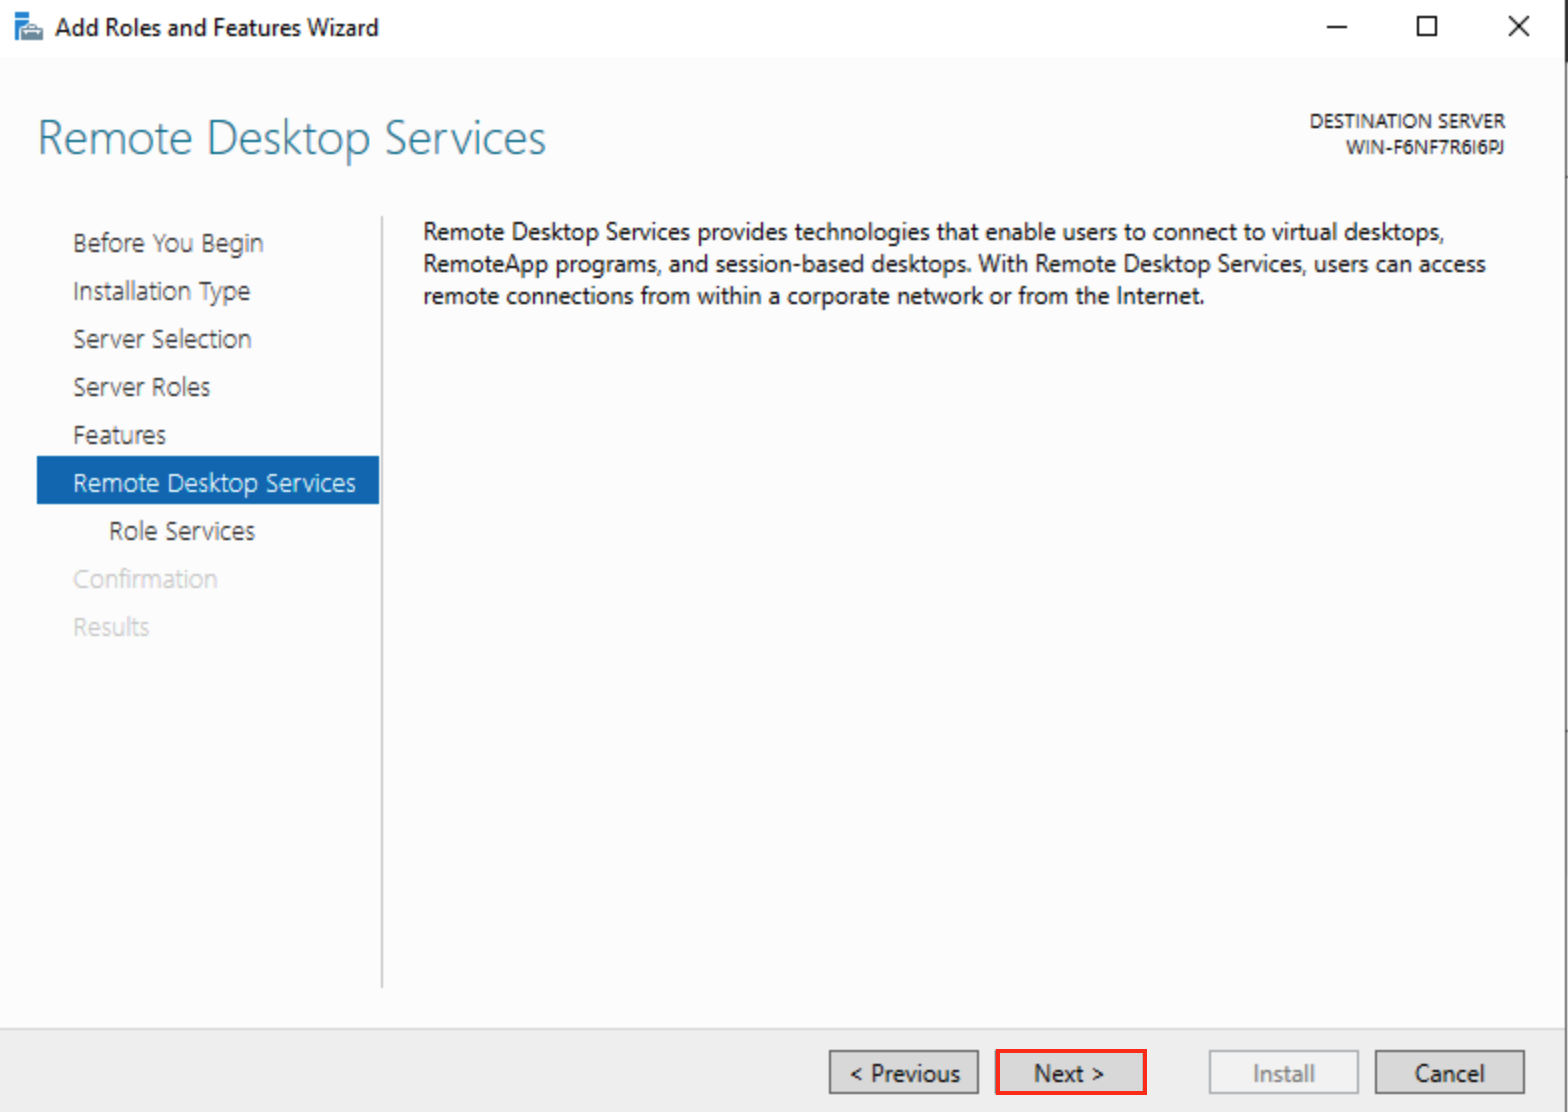
- Remote Desktop Services -
Click Next >
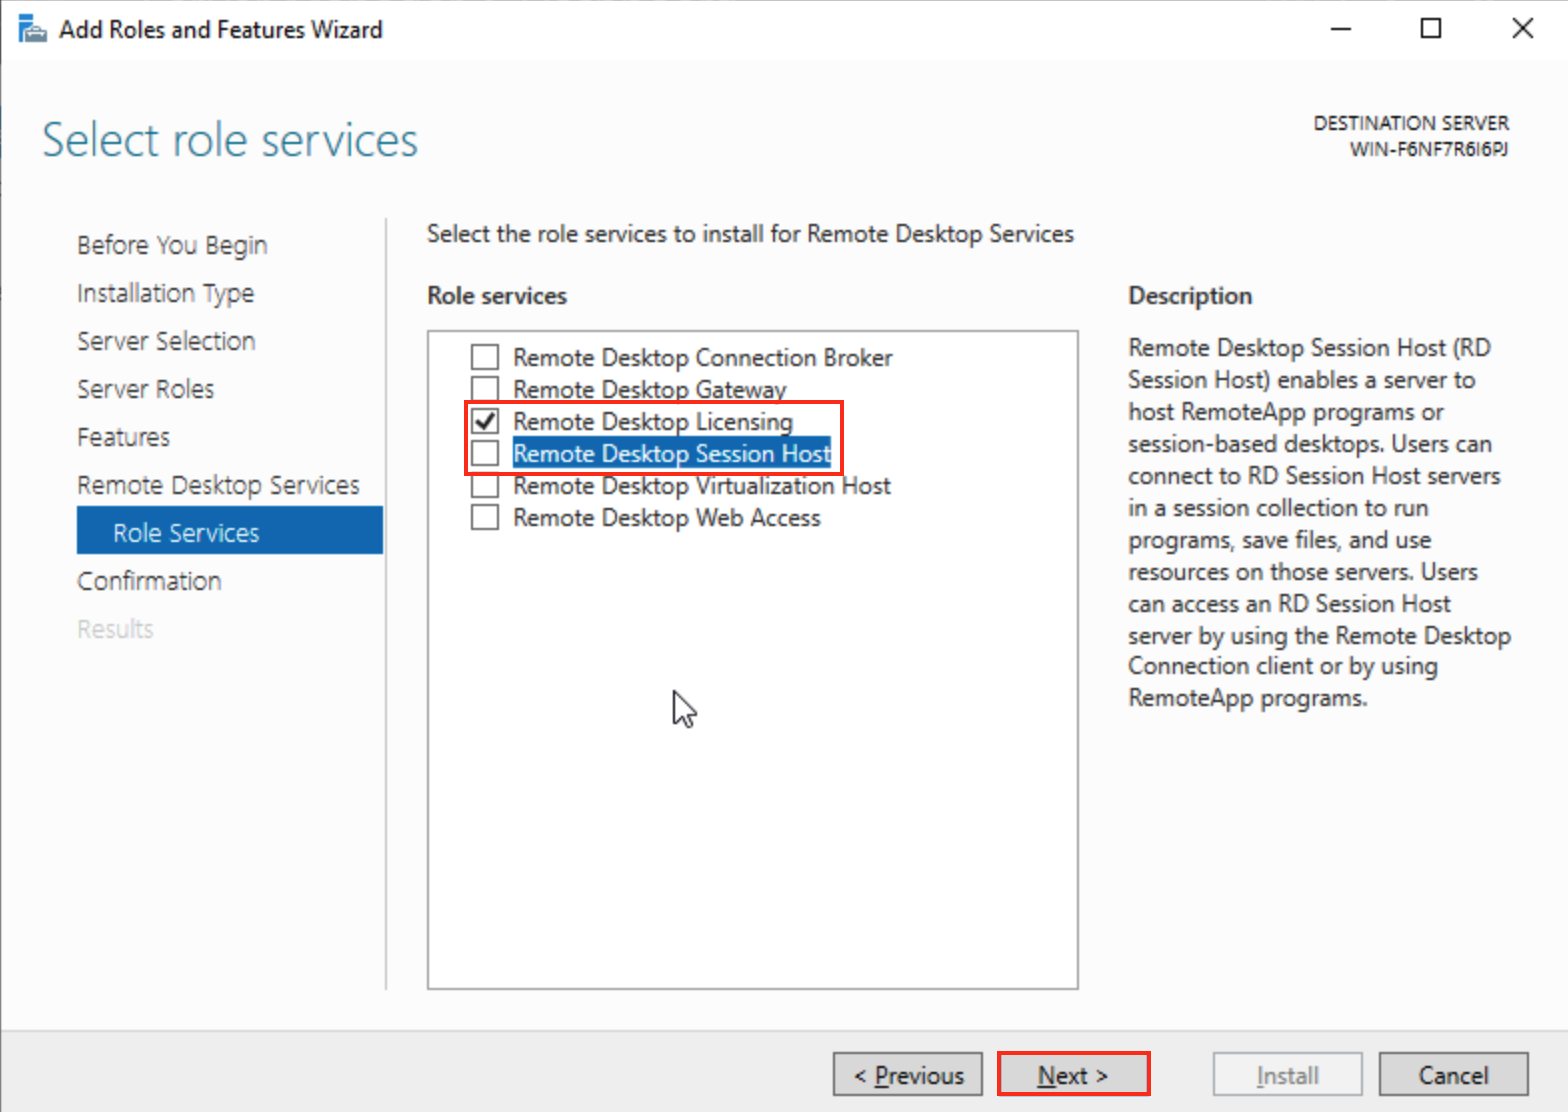
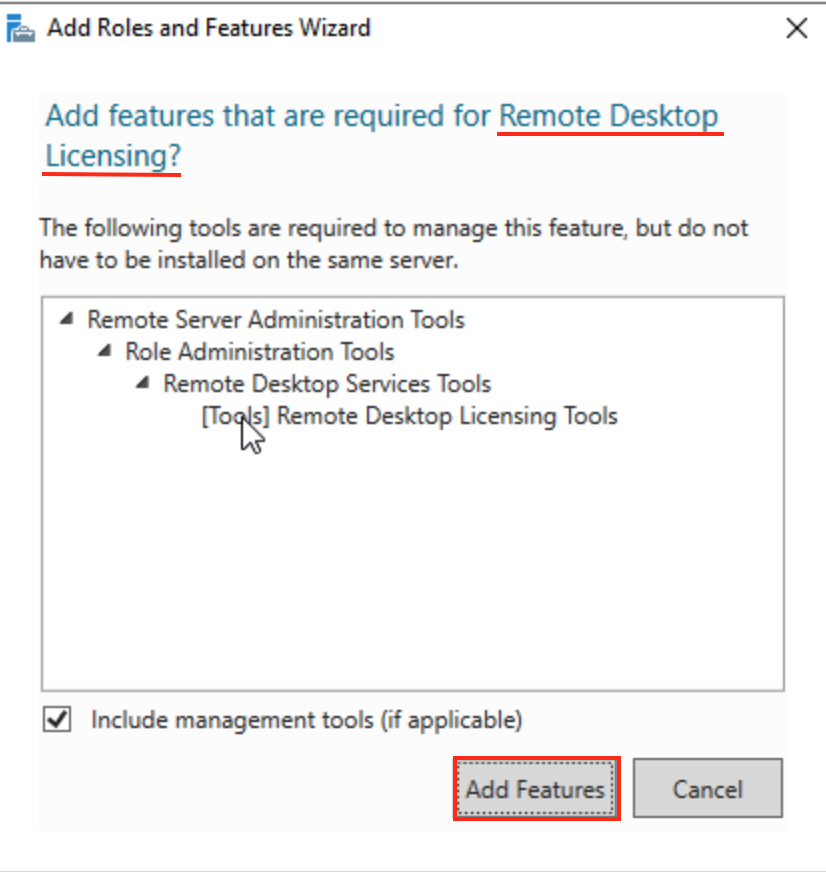
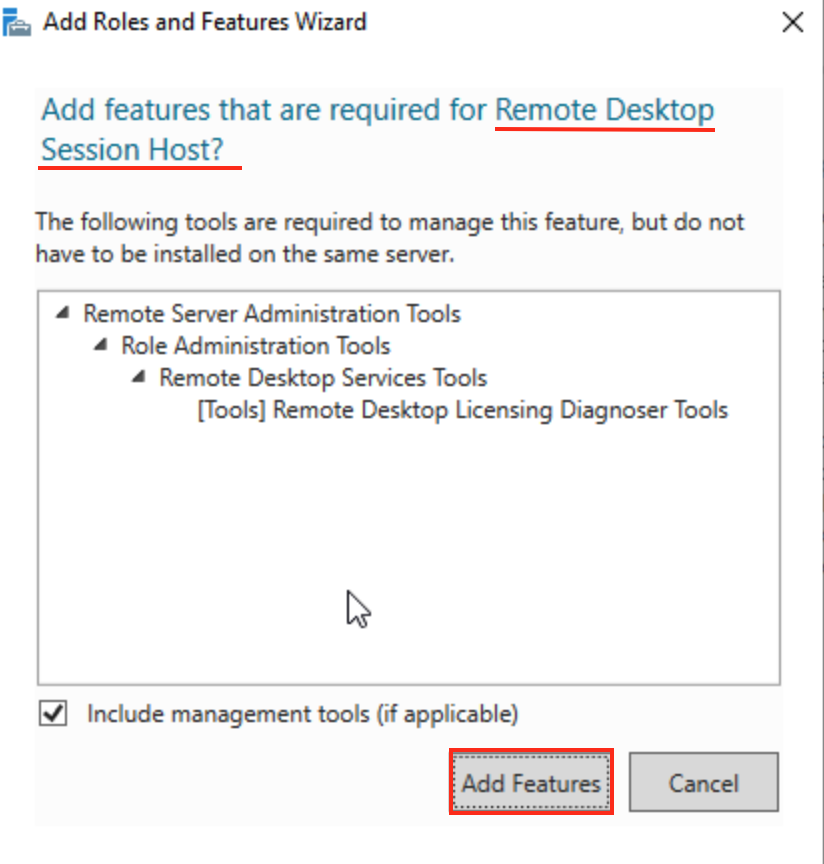
- Role Services -
You will need to enable both Remote Desktop Licensing and Remote Desktop Session Host. When enabling each option, they will both generate a popup, which you will be required to click the Add Features button. Once both Features have been ticked, click Next >
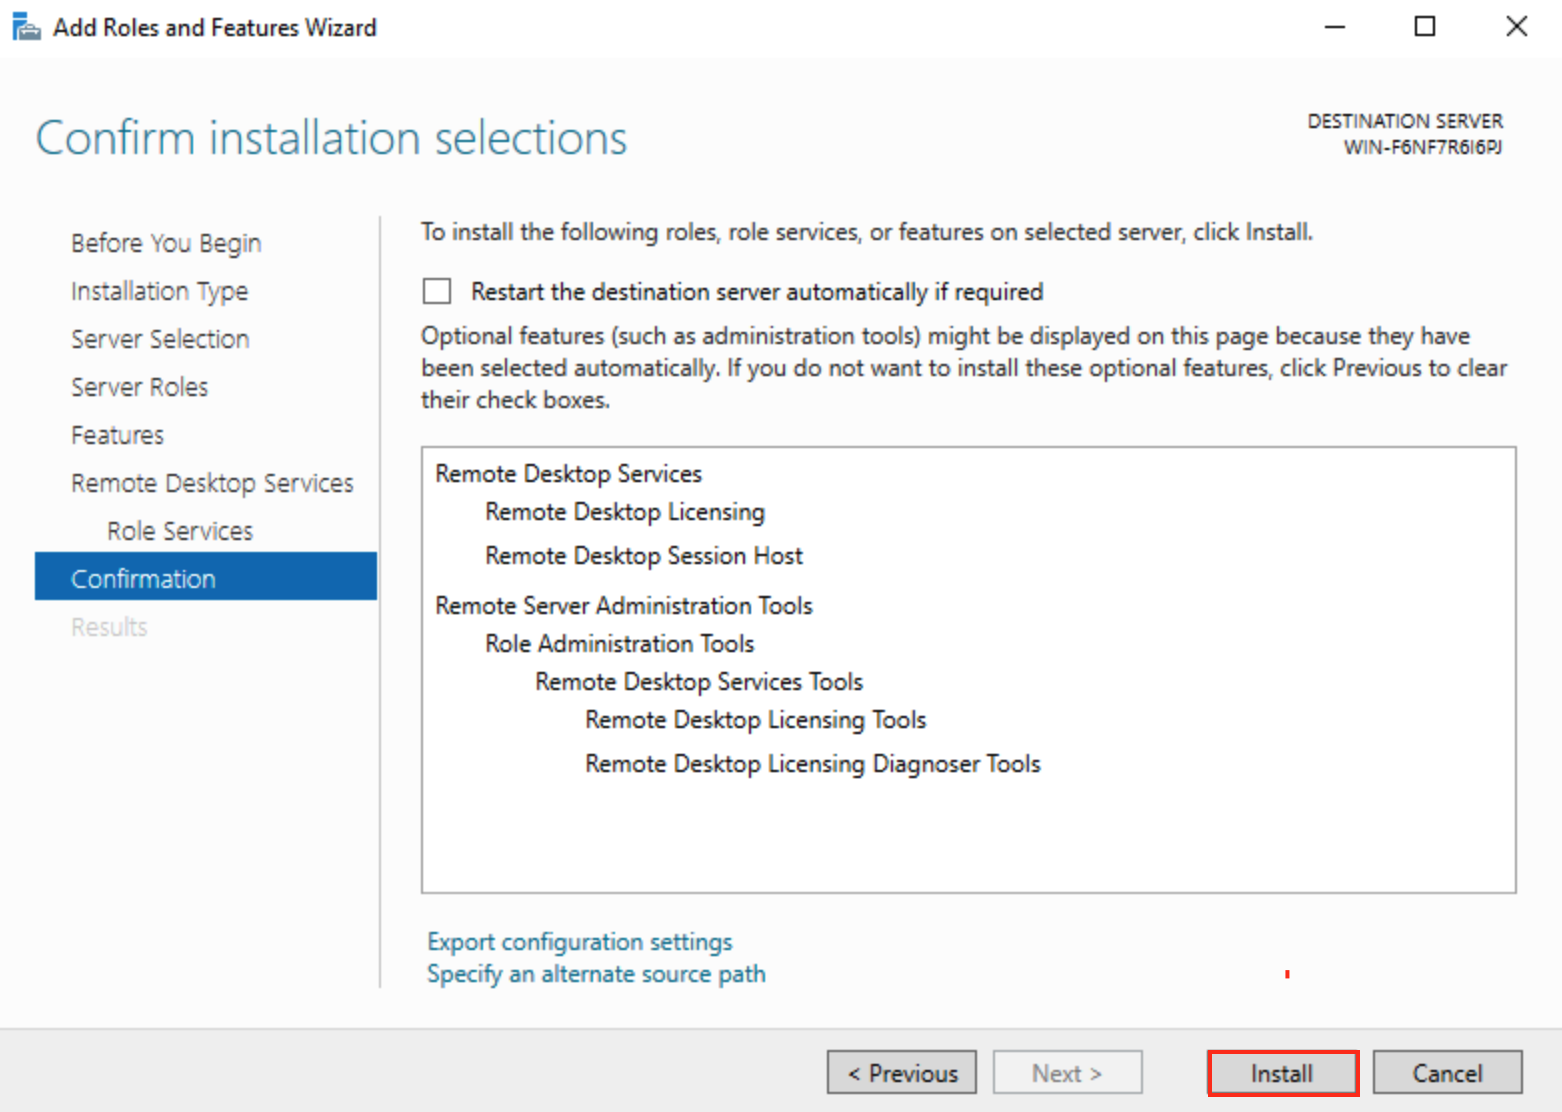
- Confirmation -
Click the Install button.
- Enable Remote Desktop feature on the server.
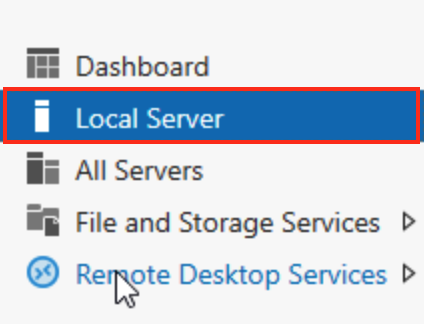
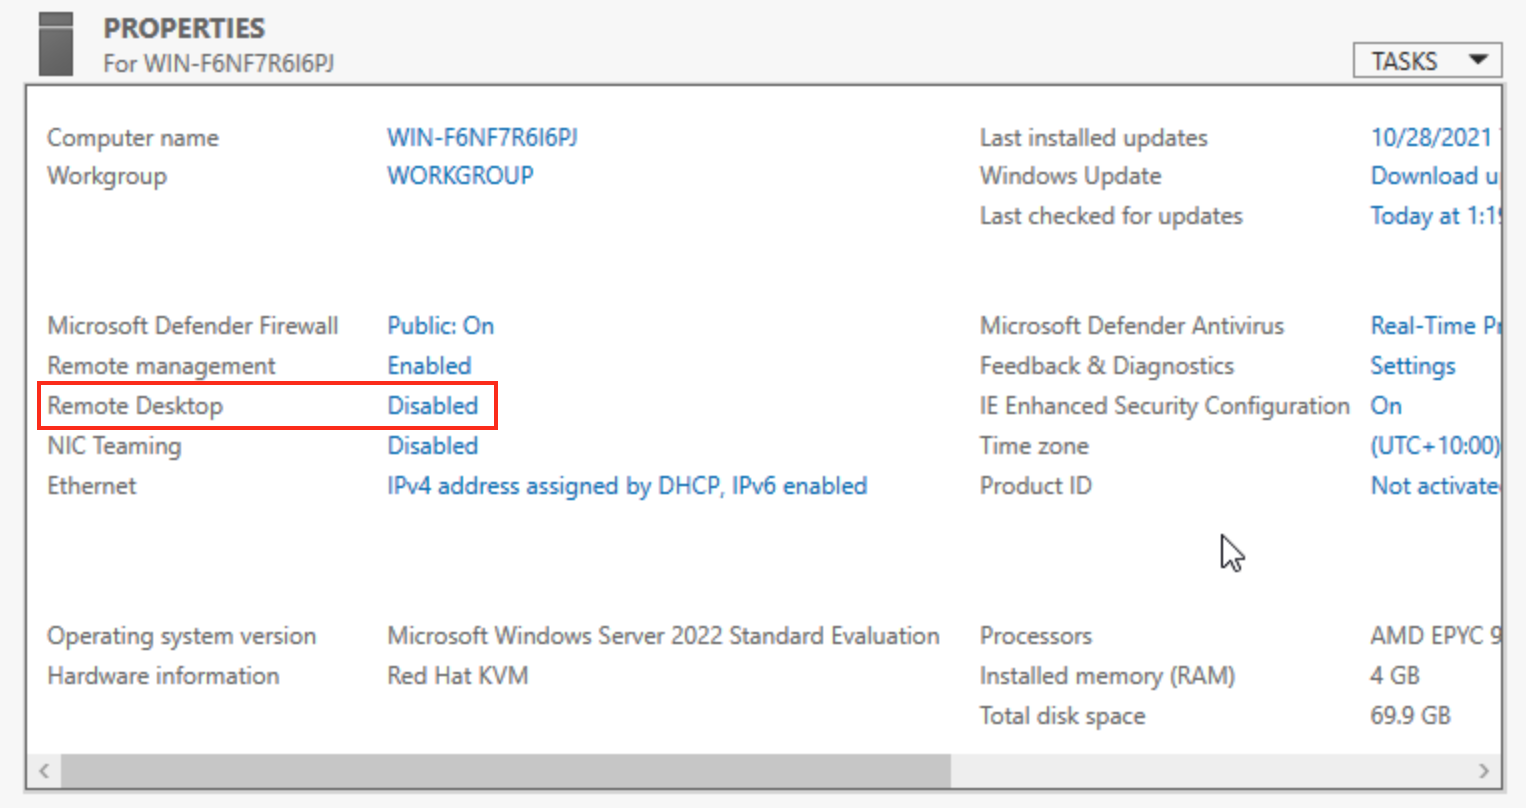
- Head back to the Server Manager Dashboard and click on Local Server
- By default, Remote Desktop will be disabled. Click on the blue hyper link.
- Click on Allow remote connections to this computer, click Apply and then click the OK button.
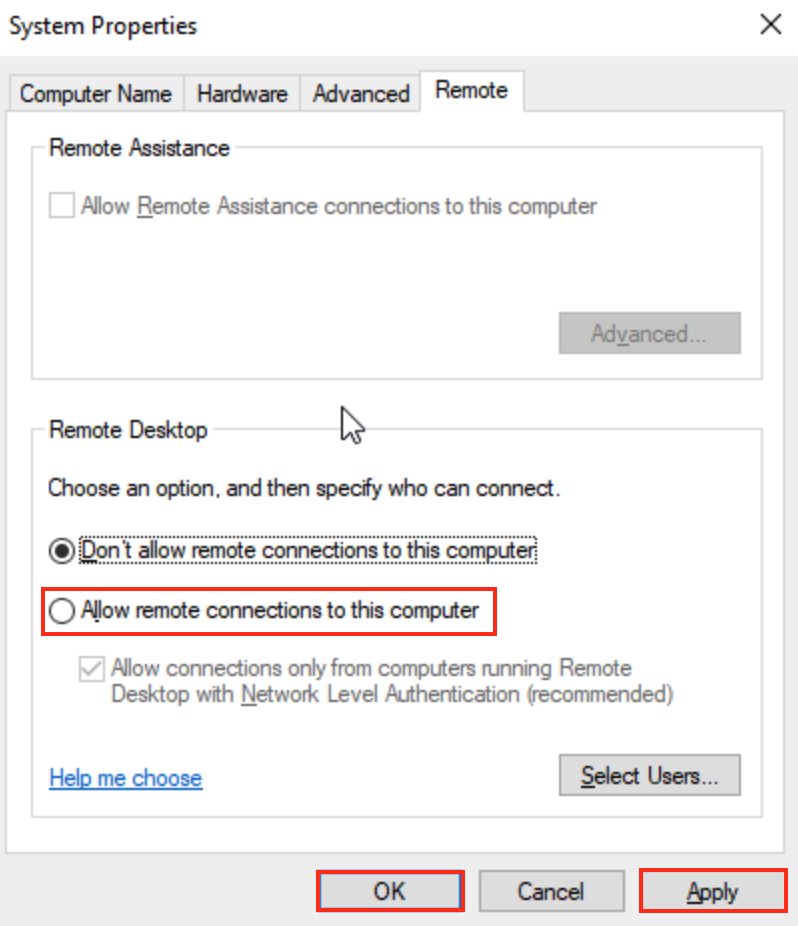
- Remote Desktop has been enabled.