Follow these steps to disable a WordPress plugin via File Manager in cPanel:
1. Log in to your cPanel account.
For instructions on how to log in to your cPanel account, please click here.
2. Under the Files section, click File Manager.

3. Navigate to your website files (most commonly in your public_html folder). Click public_html.

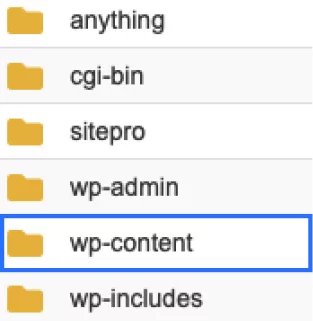
4. Click the wp-content folder.
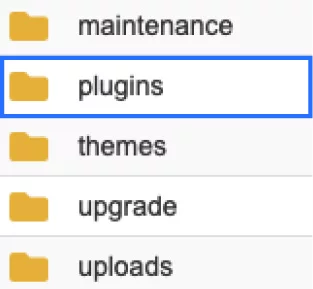
5. Click the plugins folder.
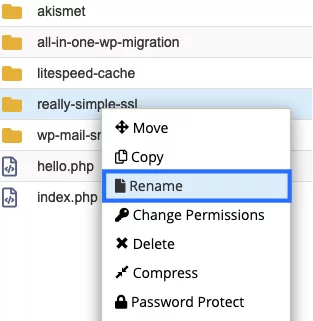
6. Right-click the plugin folder you wish to disable, then click Rename.
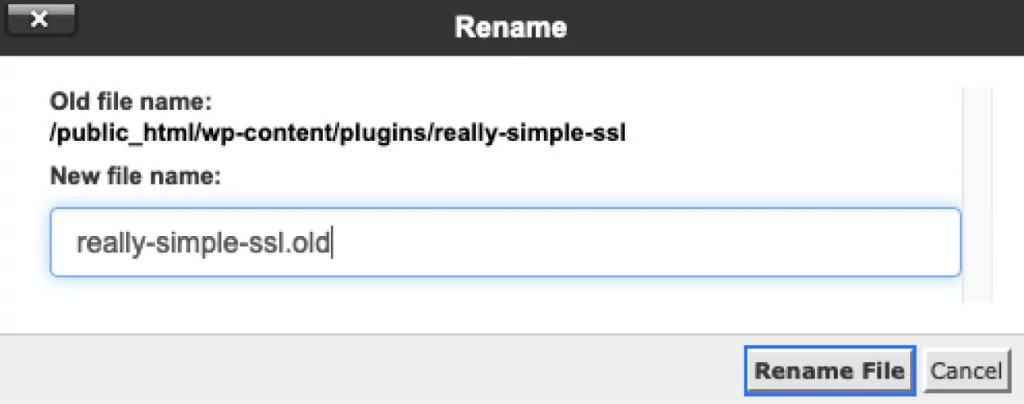
7. A pop-up box will appear. Add ".old" to the end of the new file name, then click the Rename File button. (To reactivate the plugin, repeat the steps above, then remove ".old" from the file name.)