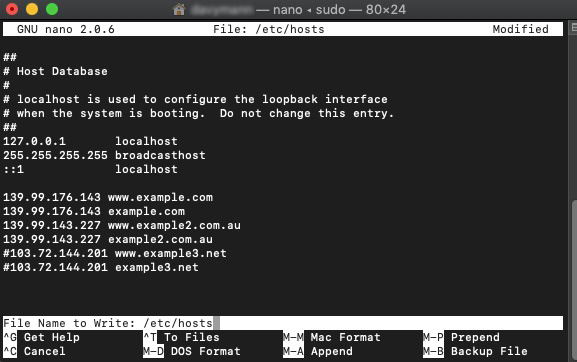
Follow these steps to change your local host file for macOS:
1. Open Terminal.

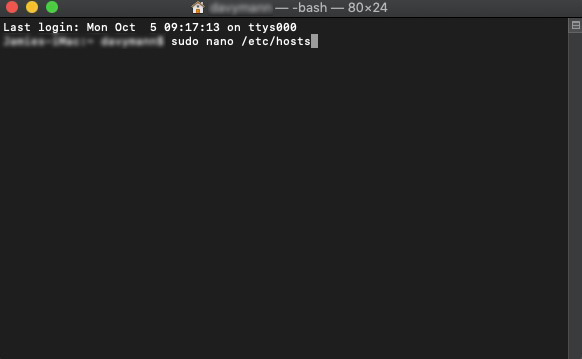
2. Type the following command: sudo nano /etc/hosts, then press Enter.
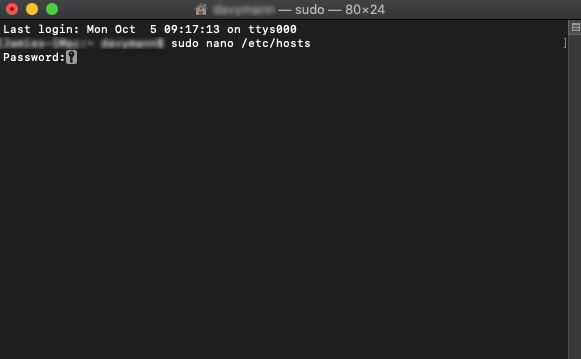
3. It will request your password. Type in your account password, then press Enter.
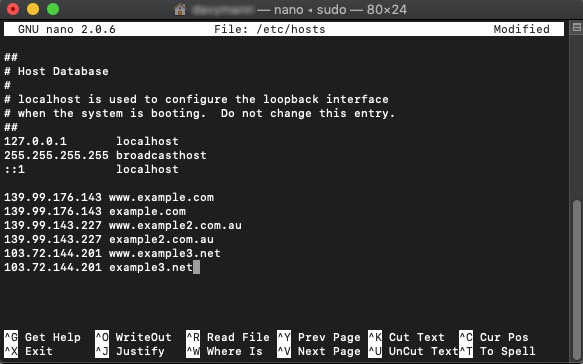
4. It will show the contents of your local host file.

5. Underneath the text "::1 localhost", type in the IP address of your server and the name of your website.
Syntax as follows: (IP Address) (Domain Name)
Always type two entries for the one domain name, i.e. www.example.com, followed by example.com.
6. You can add # in front of your entry. By doing this, you will turn the text into a comment so it won't be read by the system.
Note: This method is convenient for switching between the server you are working on and the server your domain is pointing to.

7. Once you have typed in your entries, press Ctrl + X at the same time to exit the file. It will request you to save your changes. Press Y for Yes, N for No, or Shift + C to Cancel.

8. It will ask to confirm the file name to write the changes to. Press Enter to save those changes.