

Follow these steps to add new WordPress logins via phpMyAdmin in cPanel:
STEP ONE: Find the Database Your Website is Utilising
1. Log in to your cPanel account.
For instructions on how to log in to your cPanel account, please click here.
2. Under the Files section, click File Manager.

3. Go to the location of your wp-config file (most commonly in your public_html folder).

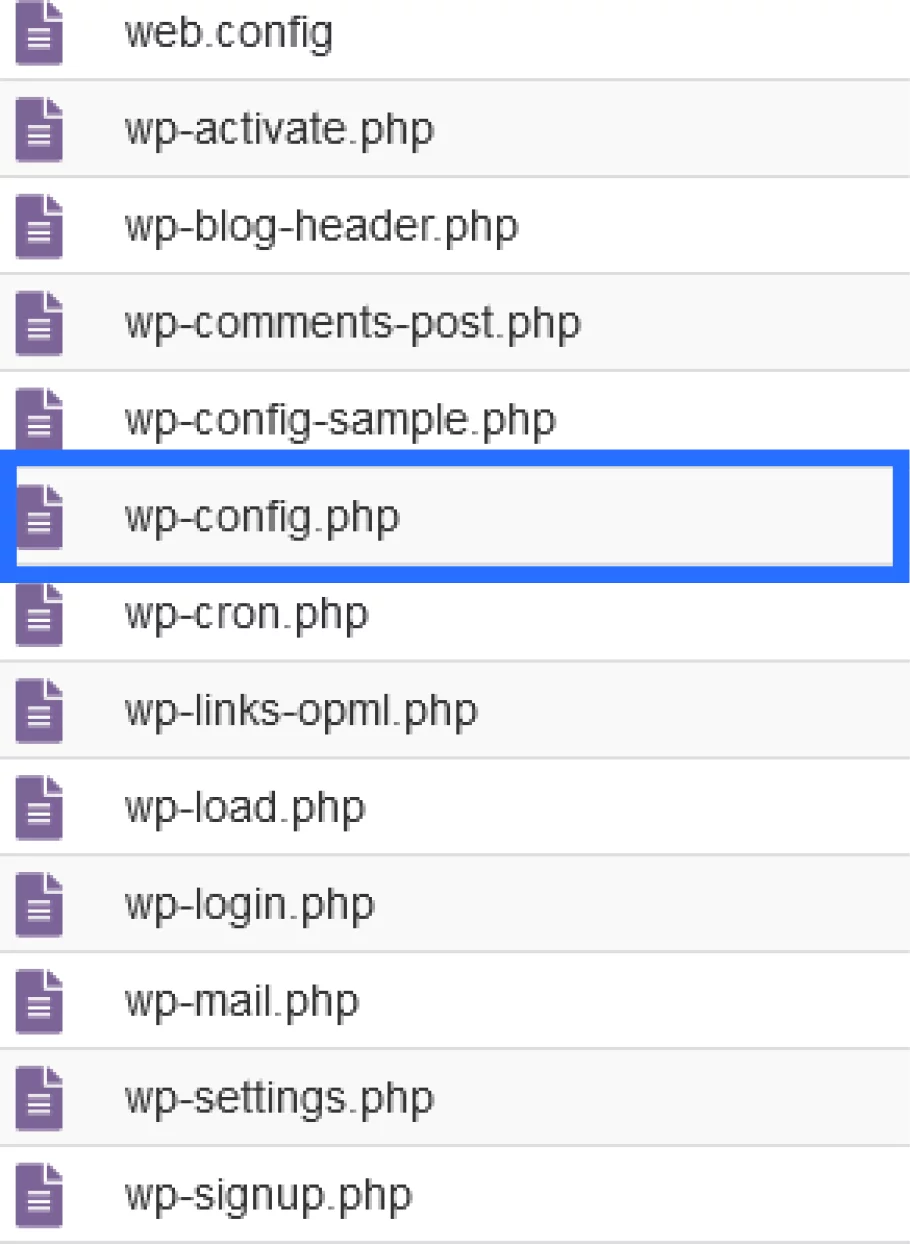
4. Once you have located your wp-config file, right-click the file, then click View.
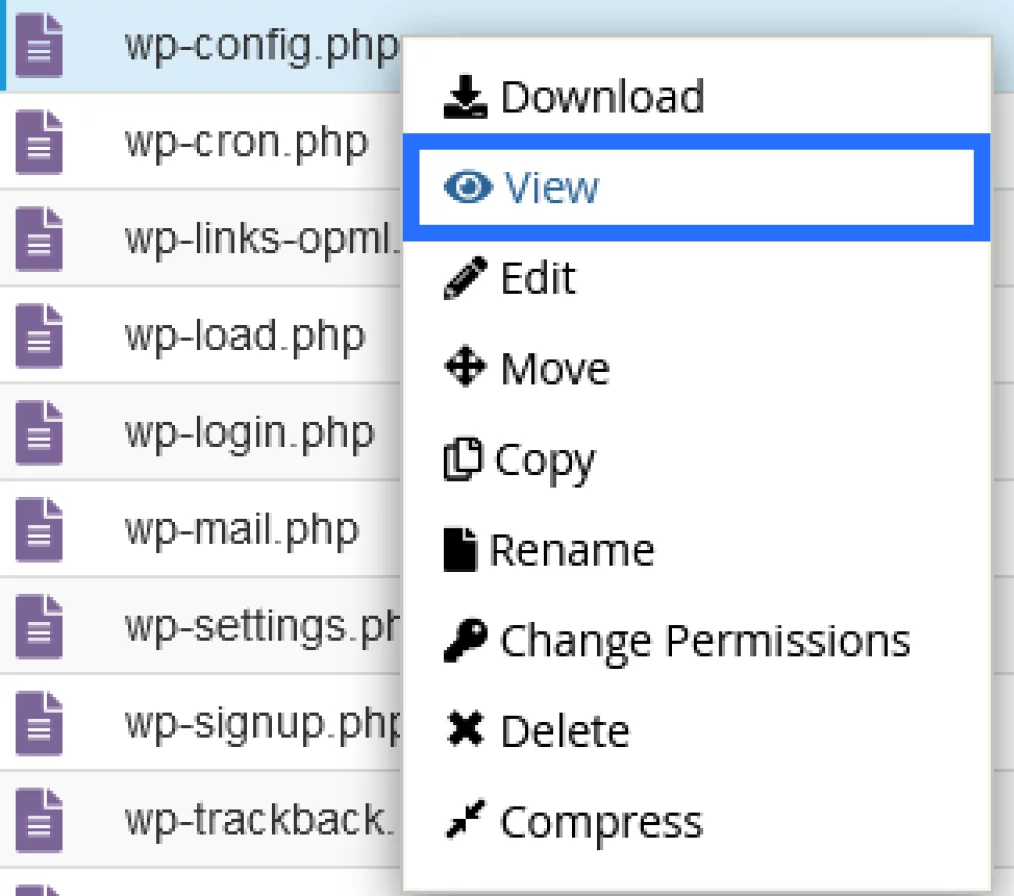
5. This will display the contents of the wp-config file. Look for the code that says: define( ‘DB_NAME’, ‘NameOfDatabase’ );
Note: The database name will be where ‘NameOfDatabase’ is mentioned in the above code. In this example, the database name is ‘tofumomo_wp194’.

STEP TWO: Access phpMyAdmin in cPanel
6. Under the Databases section, click phpMyAdmin.

7. On the left side panel, select the database listed in your wp-config file. (In this case, the database is ‘tofumomo_wp194’, as per the previous screenshots.)
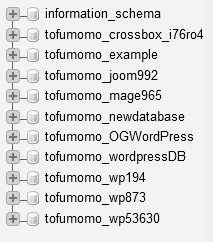
8. Once you select the database, it will provide a list of tables. You need to locate the table that includes the list of users who can access your WordPress backend.
This table may have different names depending on how the website was built. It will usually contain the word ‘users’ in the title. In this scenario, the table name you want to select is ‘wpa9_users’. It will open a list of entries within the table ‘wpa9_users’.
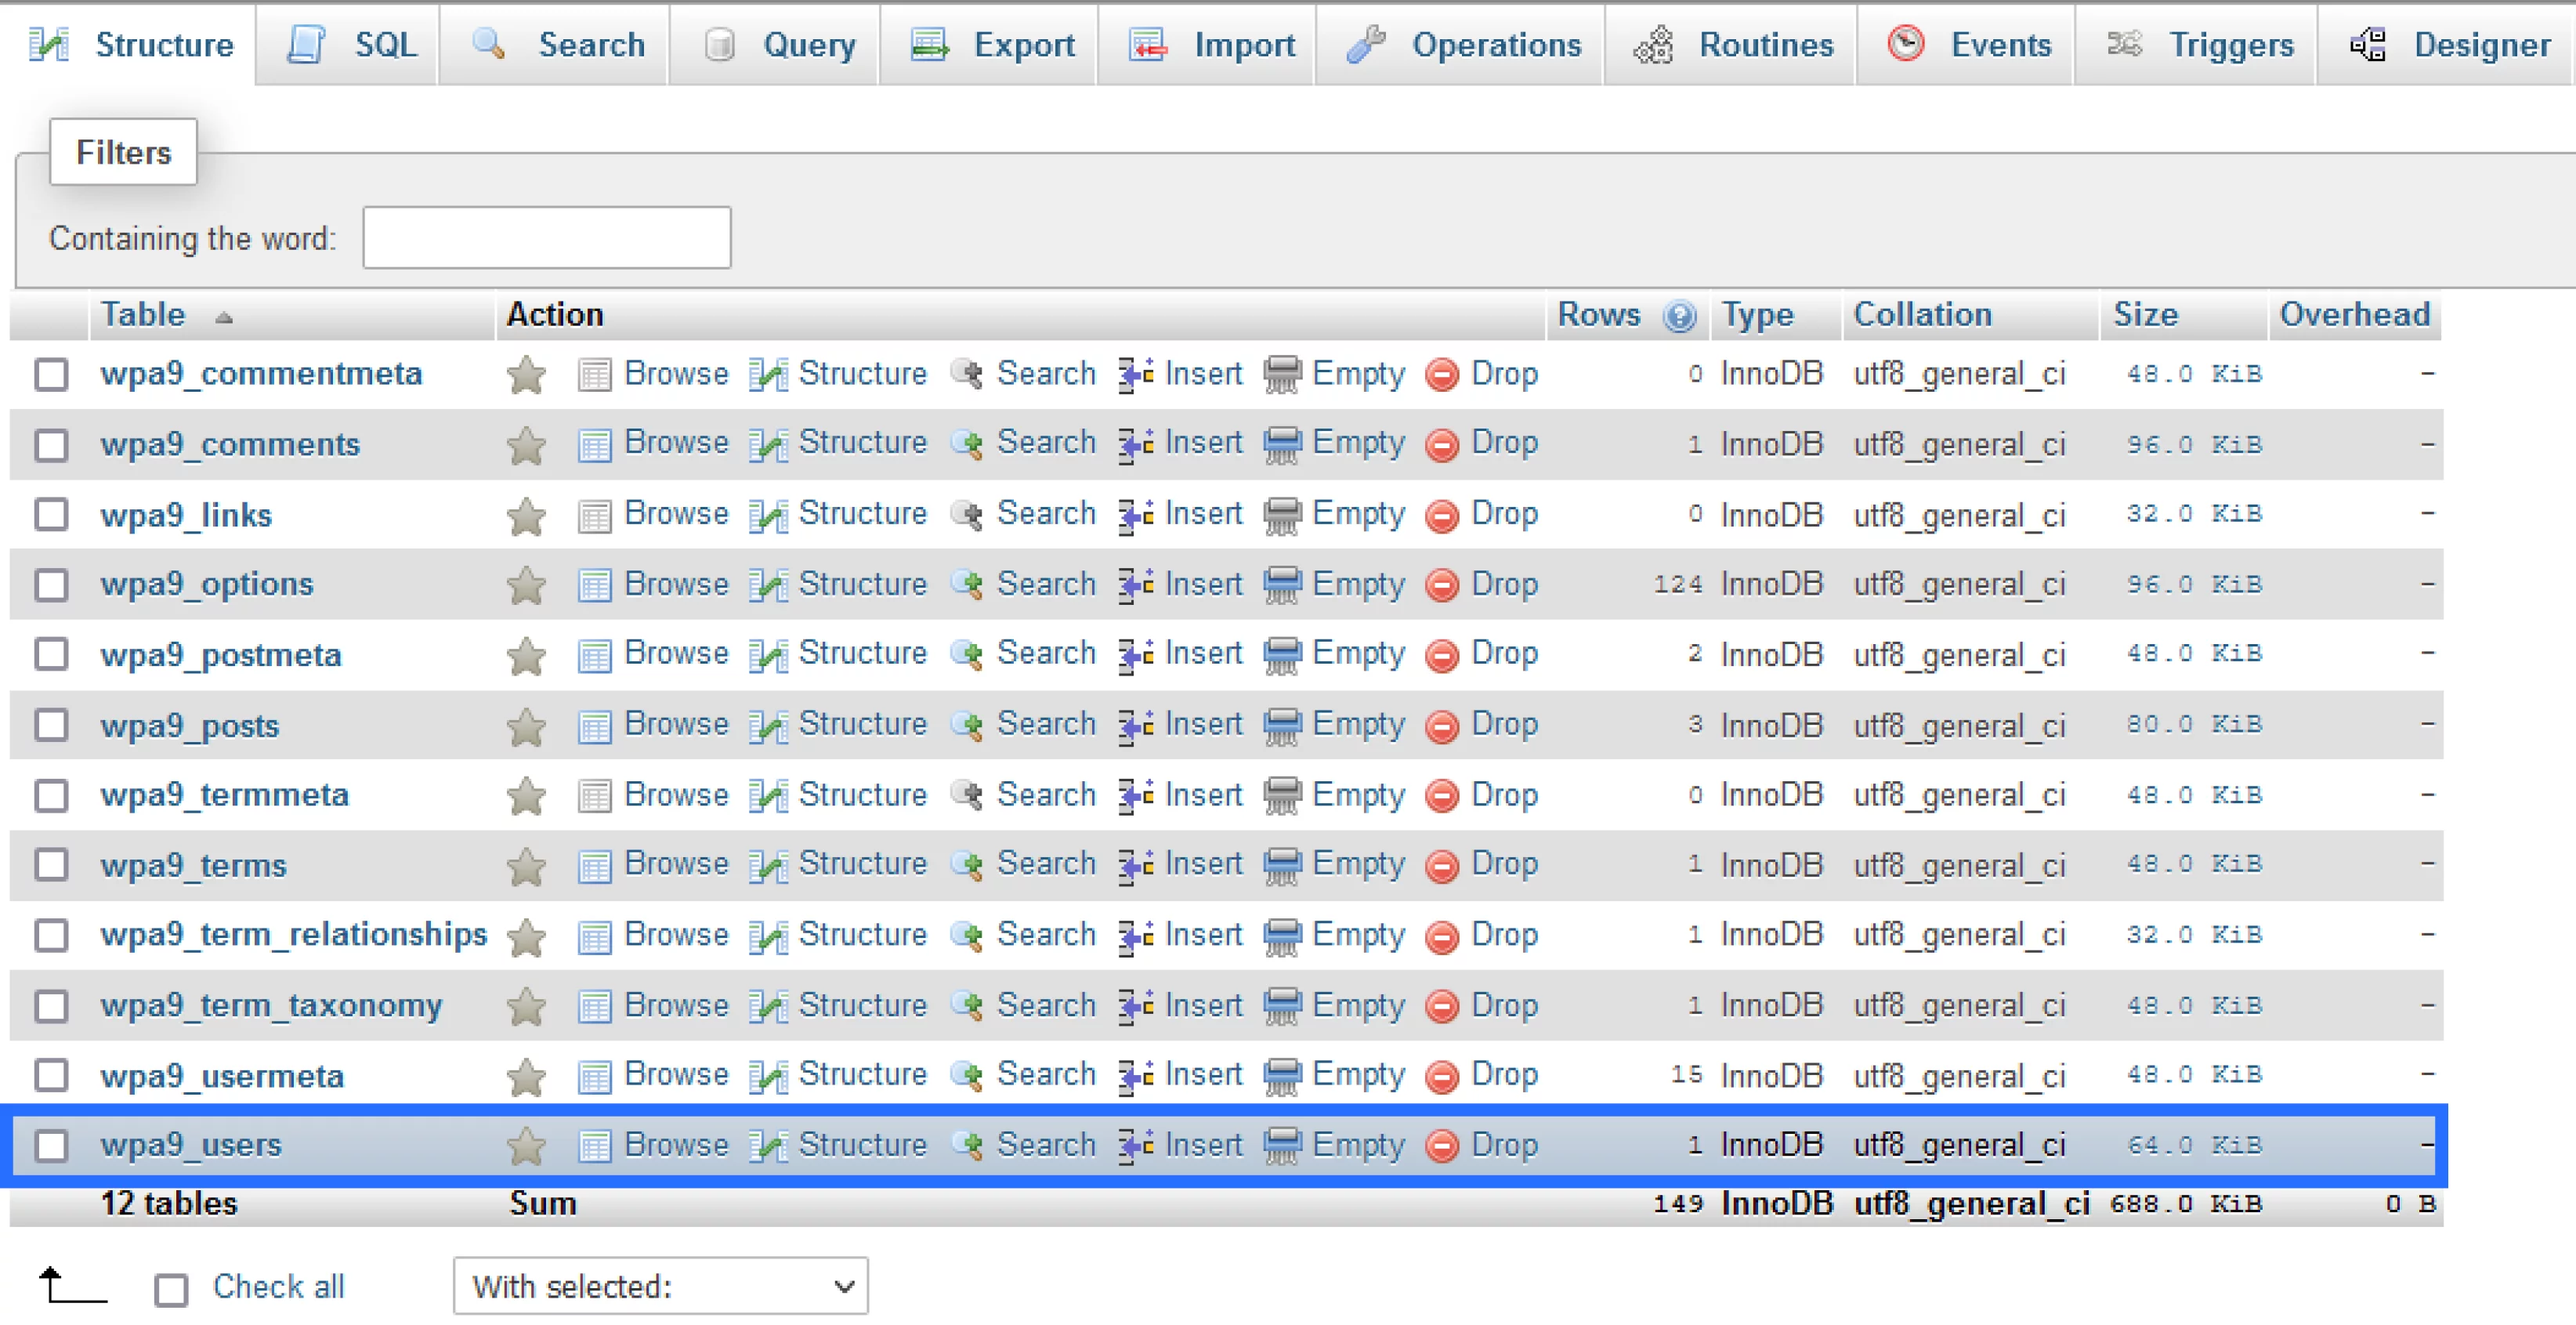
9. You will see a row of tabs at the top of the page. Click the Insert tab. It will open up a page that allows you to insert new entries into the table.

10. You can enter your new user login details on this page.
Refer to the list below for each required section.
user_login: The username for your new admin user. (In our example, it is ‘example’.)
user_pass: A password for the account and select MD5 in the Function dropdown list. (In this example, the password is ‘ExamplePassword65’.)
user_email: The email address for your new admin user.
user_registered: Select the date and time for registering this user.
user_status: Set this value to 0.
You can leave the ID row blank. The ID is a unique identifier and will be assigned automatically.
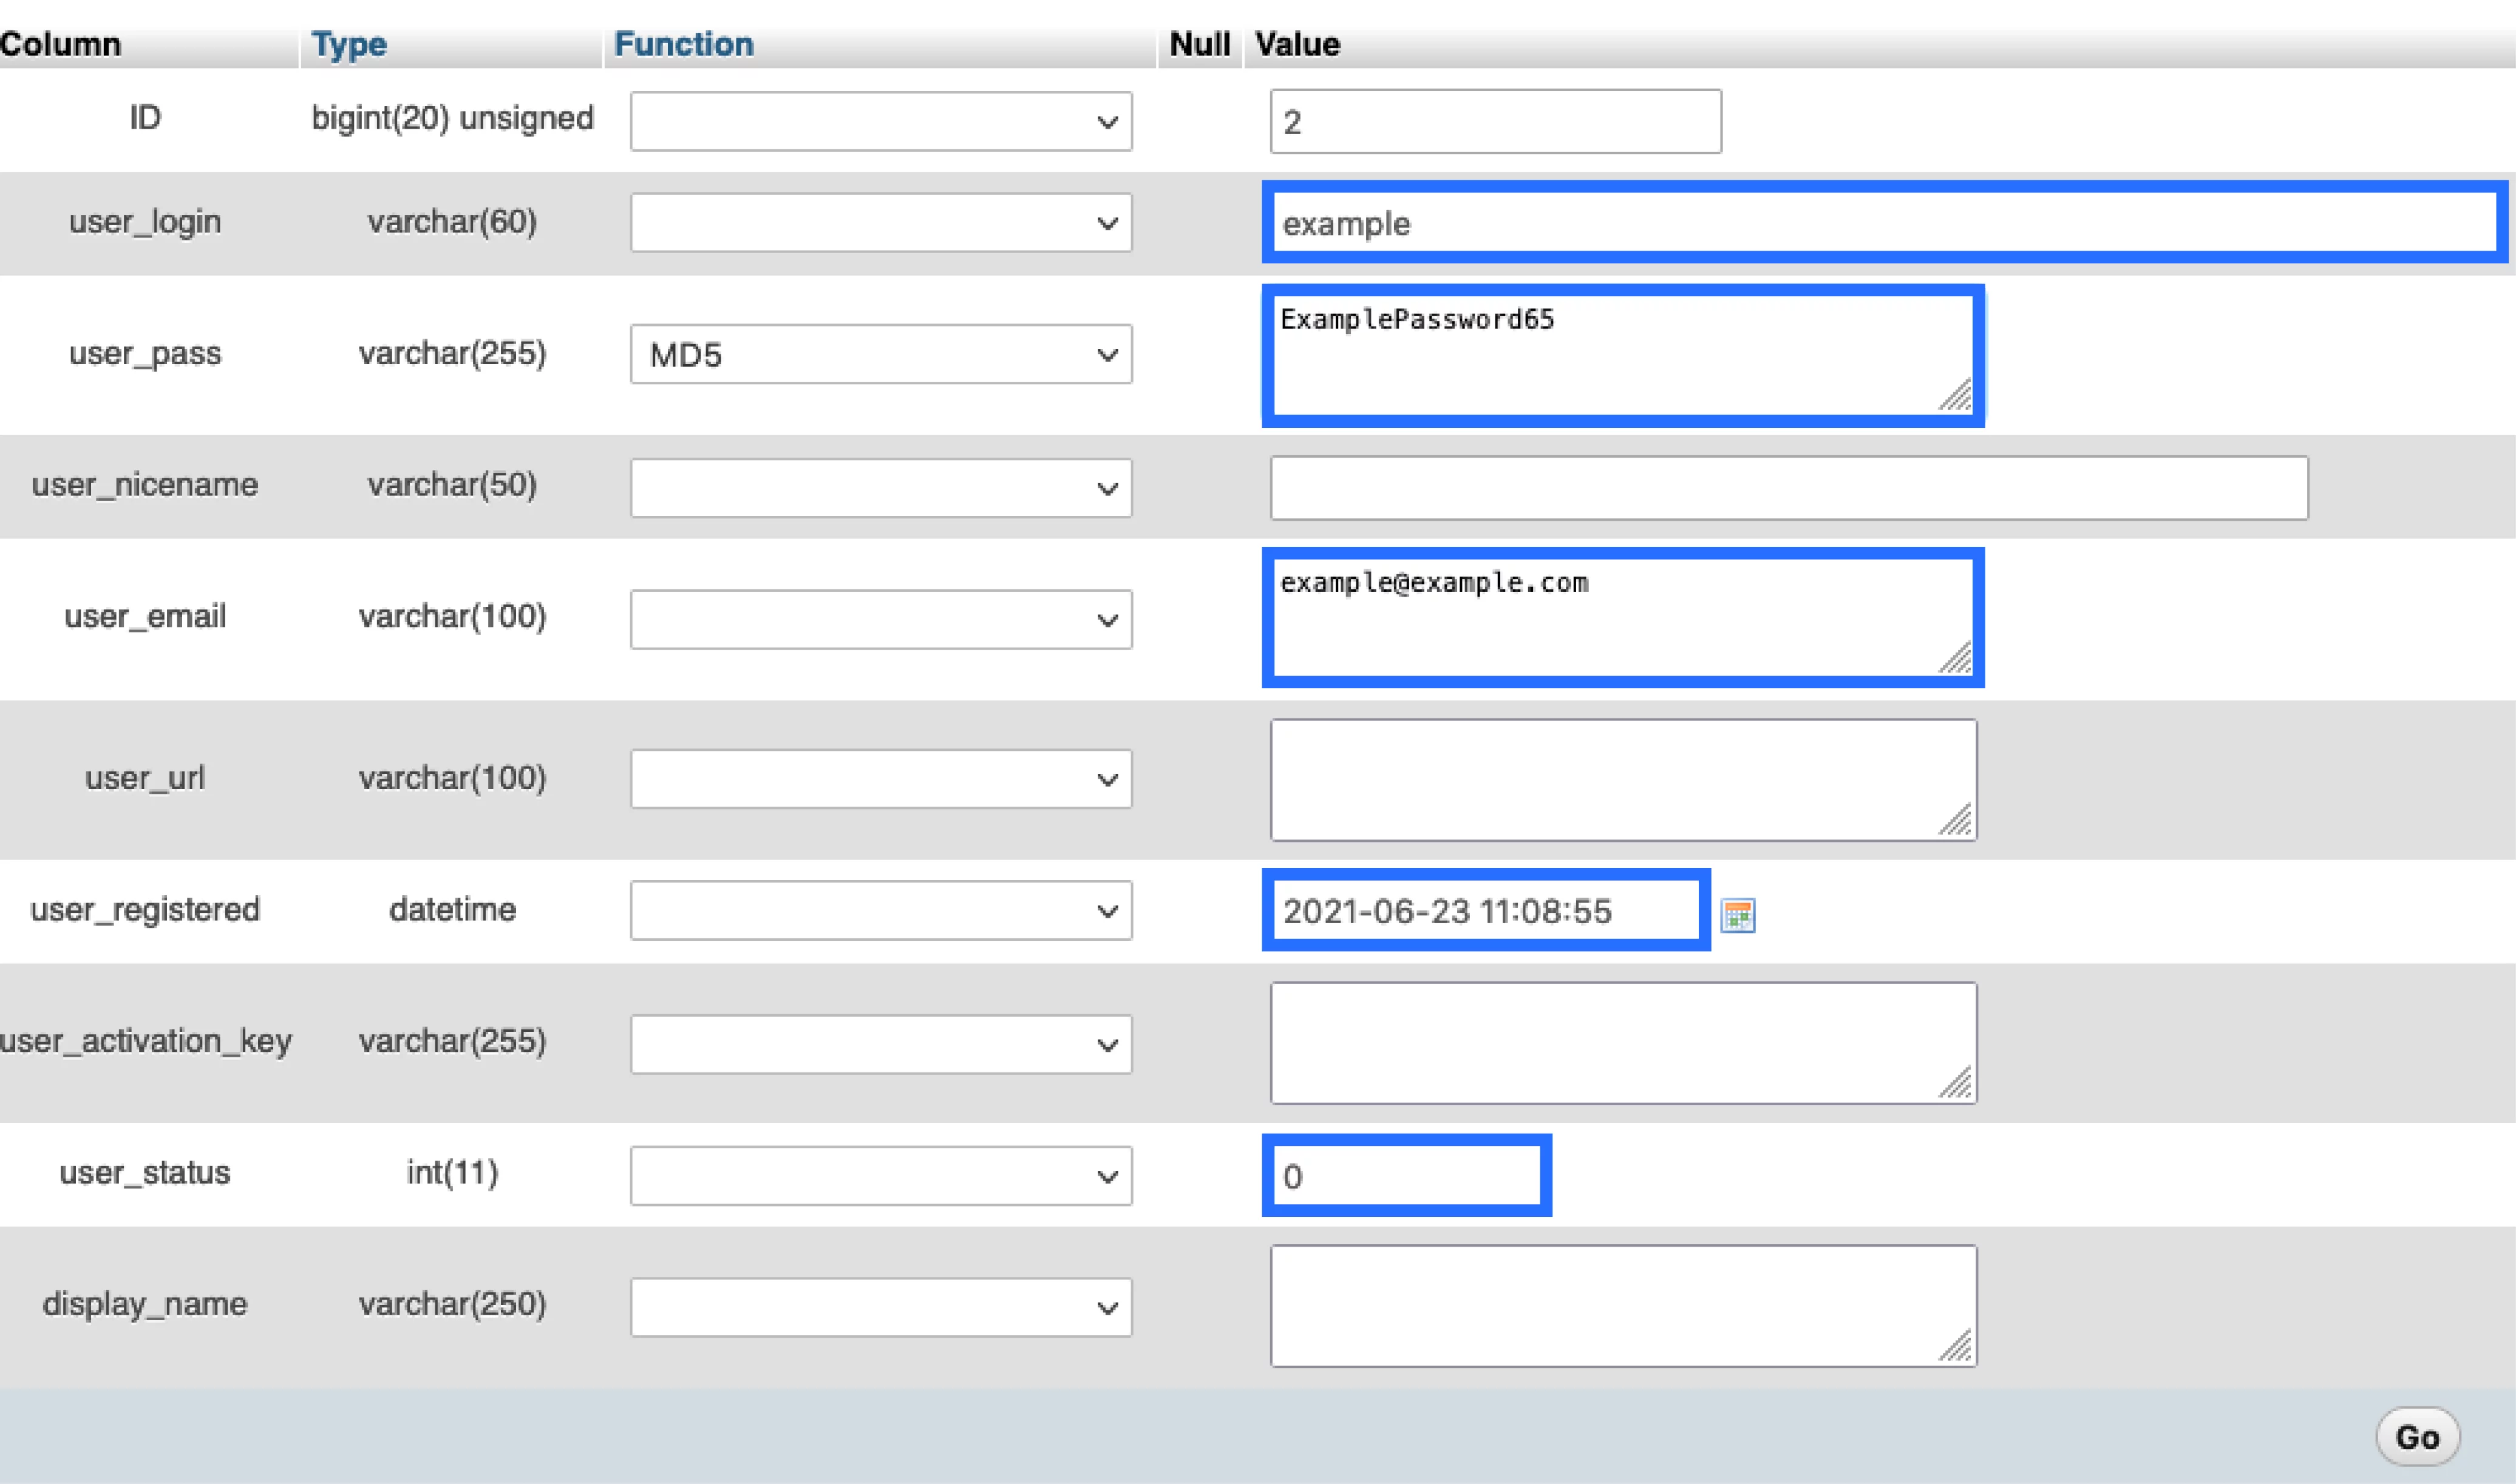
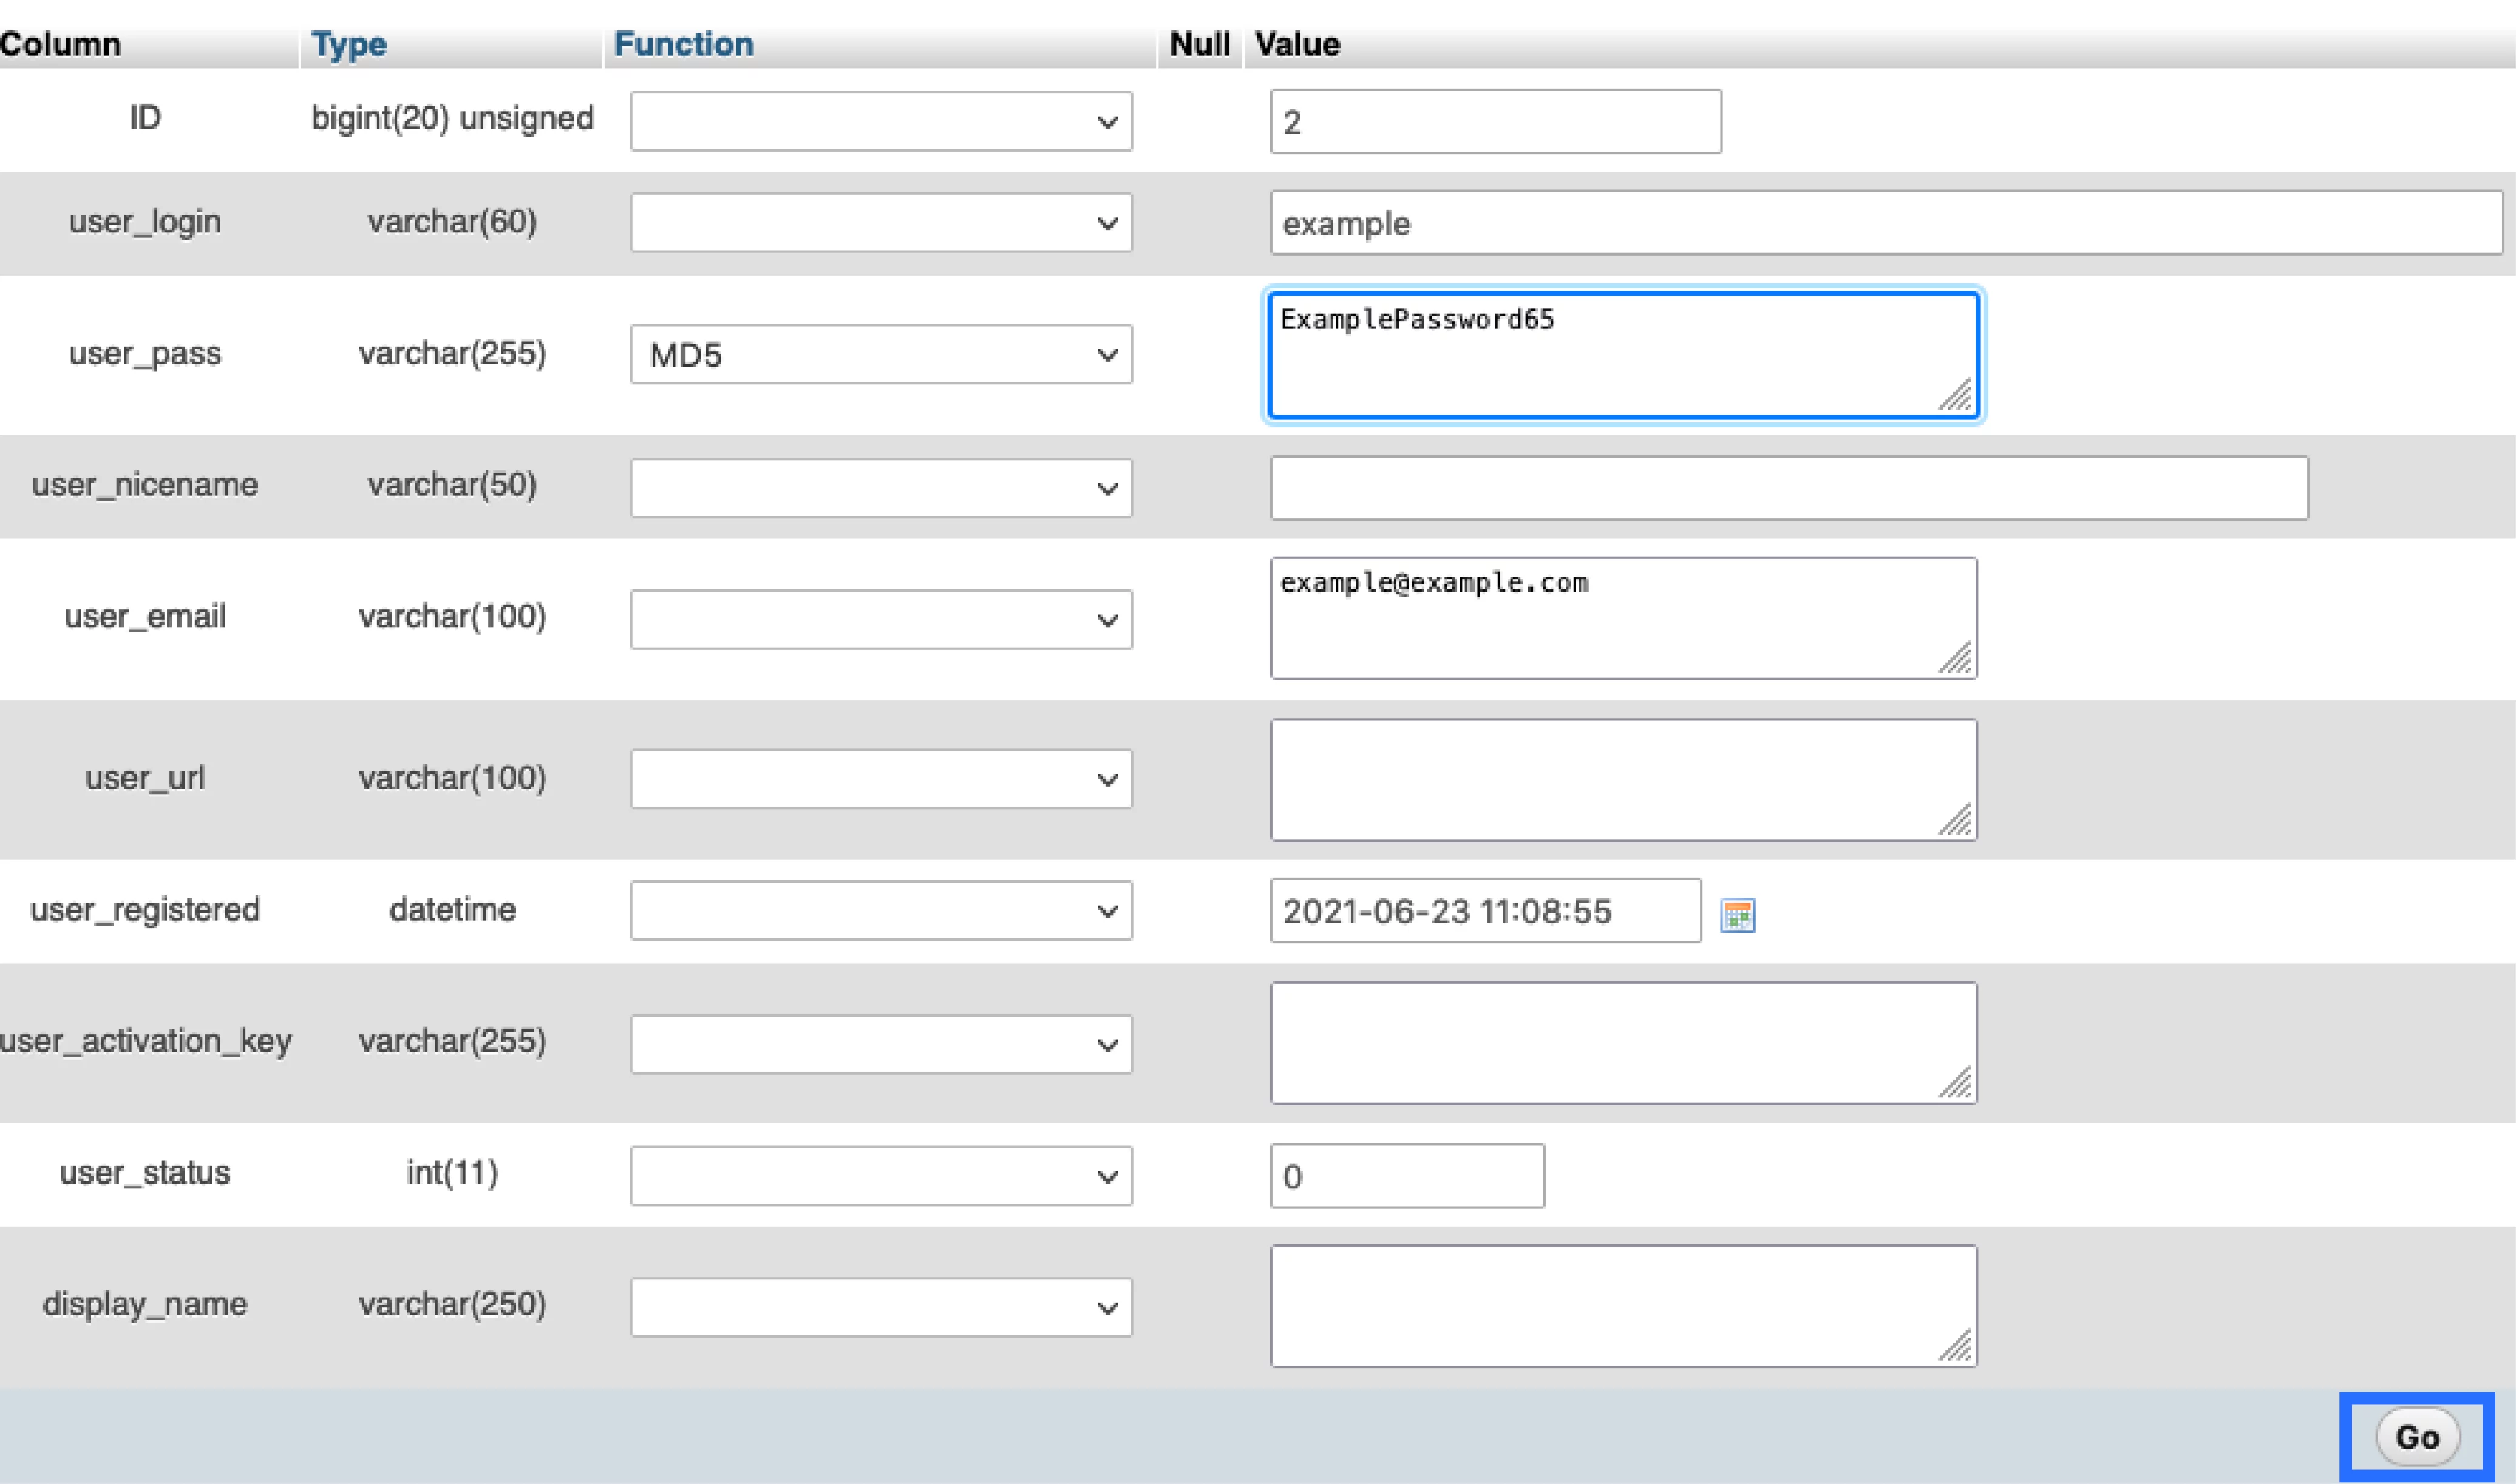
11. Once completed, click the Go button.
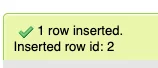
12. You will be taken to another page advising that the row/entry has been added.
13. Click into the table name ‘wpa9_users’ again.
14. Look for the new WordPress login entry. Now, you must note down the ID value, so we can link the permissions for the account. In this case, the ID is “2”.

15. Return to the left side panel and select the table with the word ‘usermeta’ in the name. In this scenario, the table name you want to select is ‘wpa9_usermeta’.
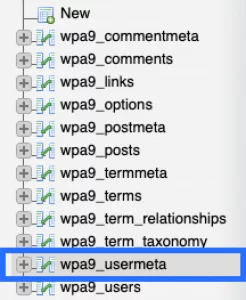
16. It will list the entries within the table. Click the Insert tab at the top of the page.
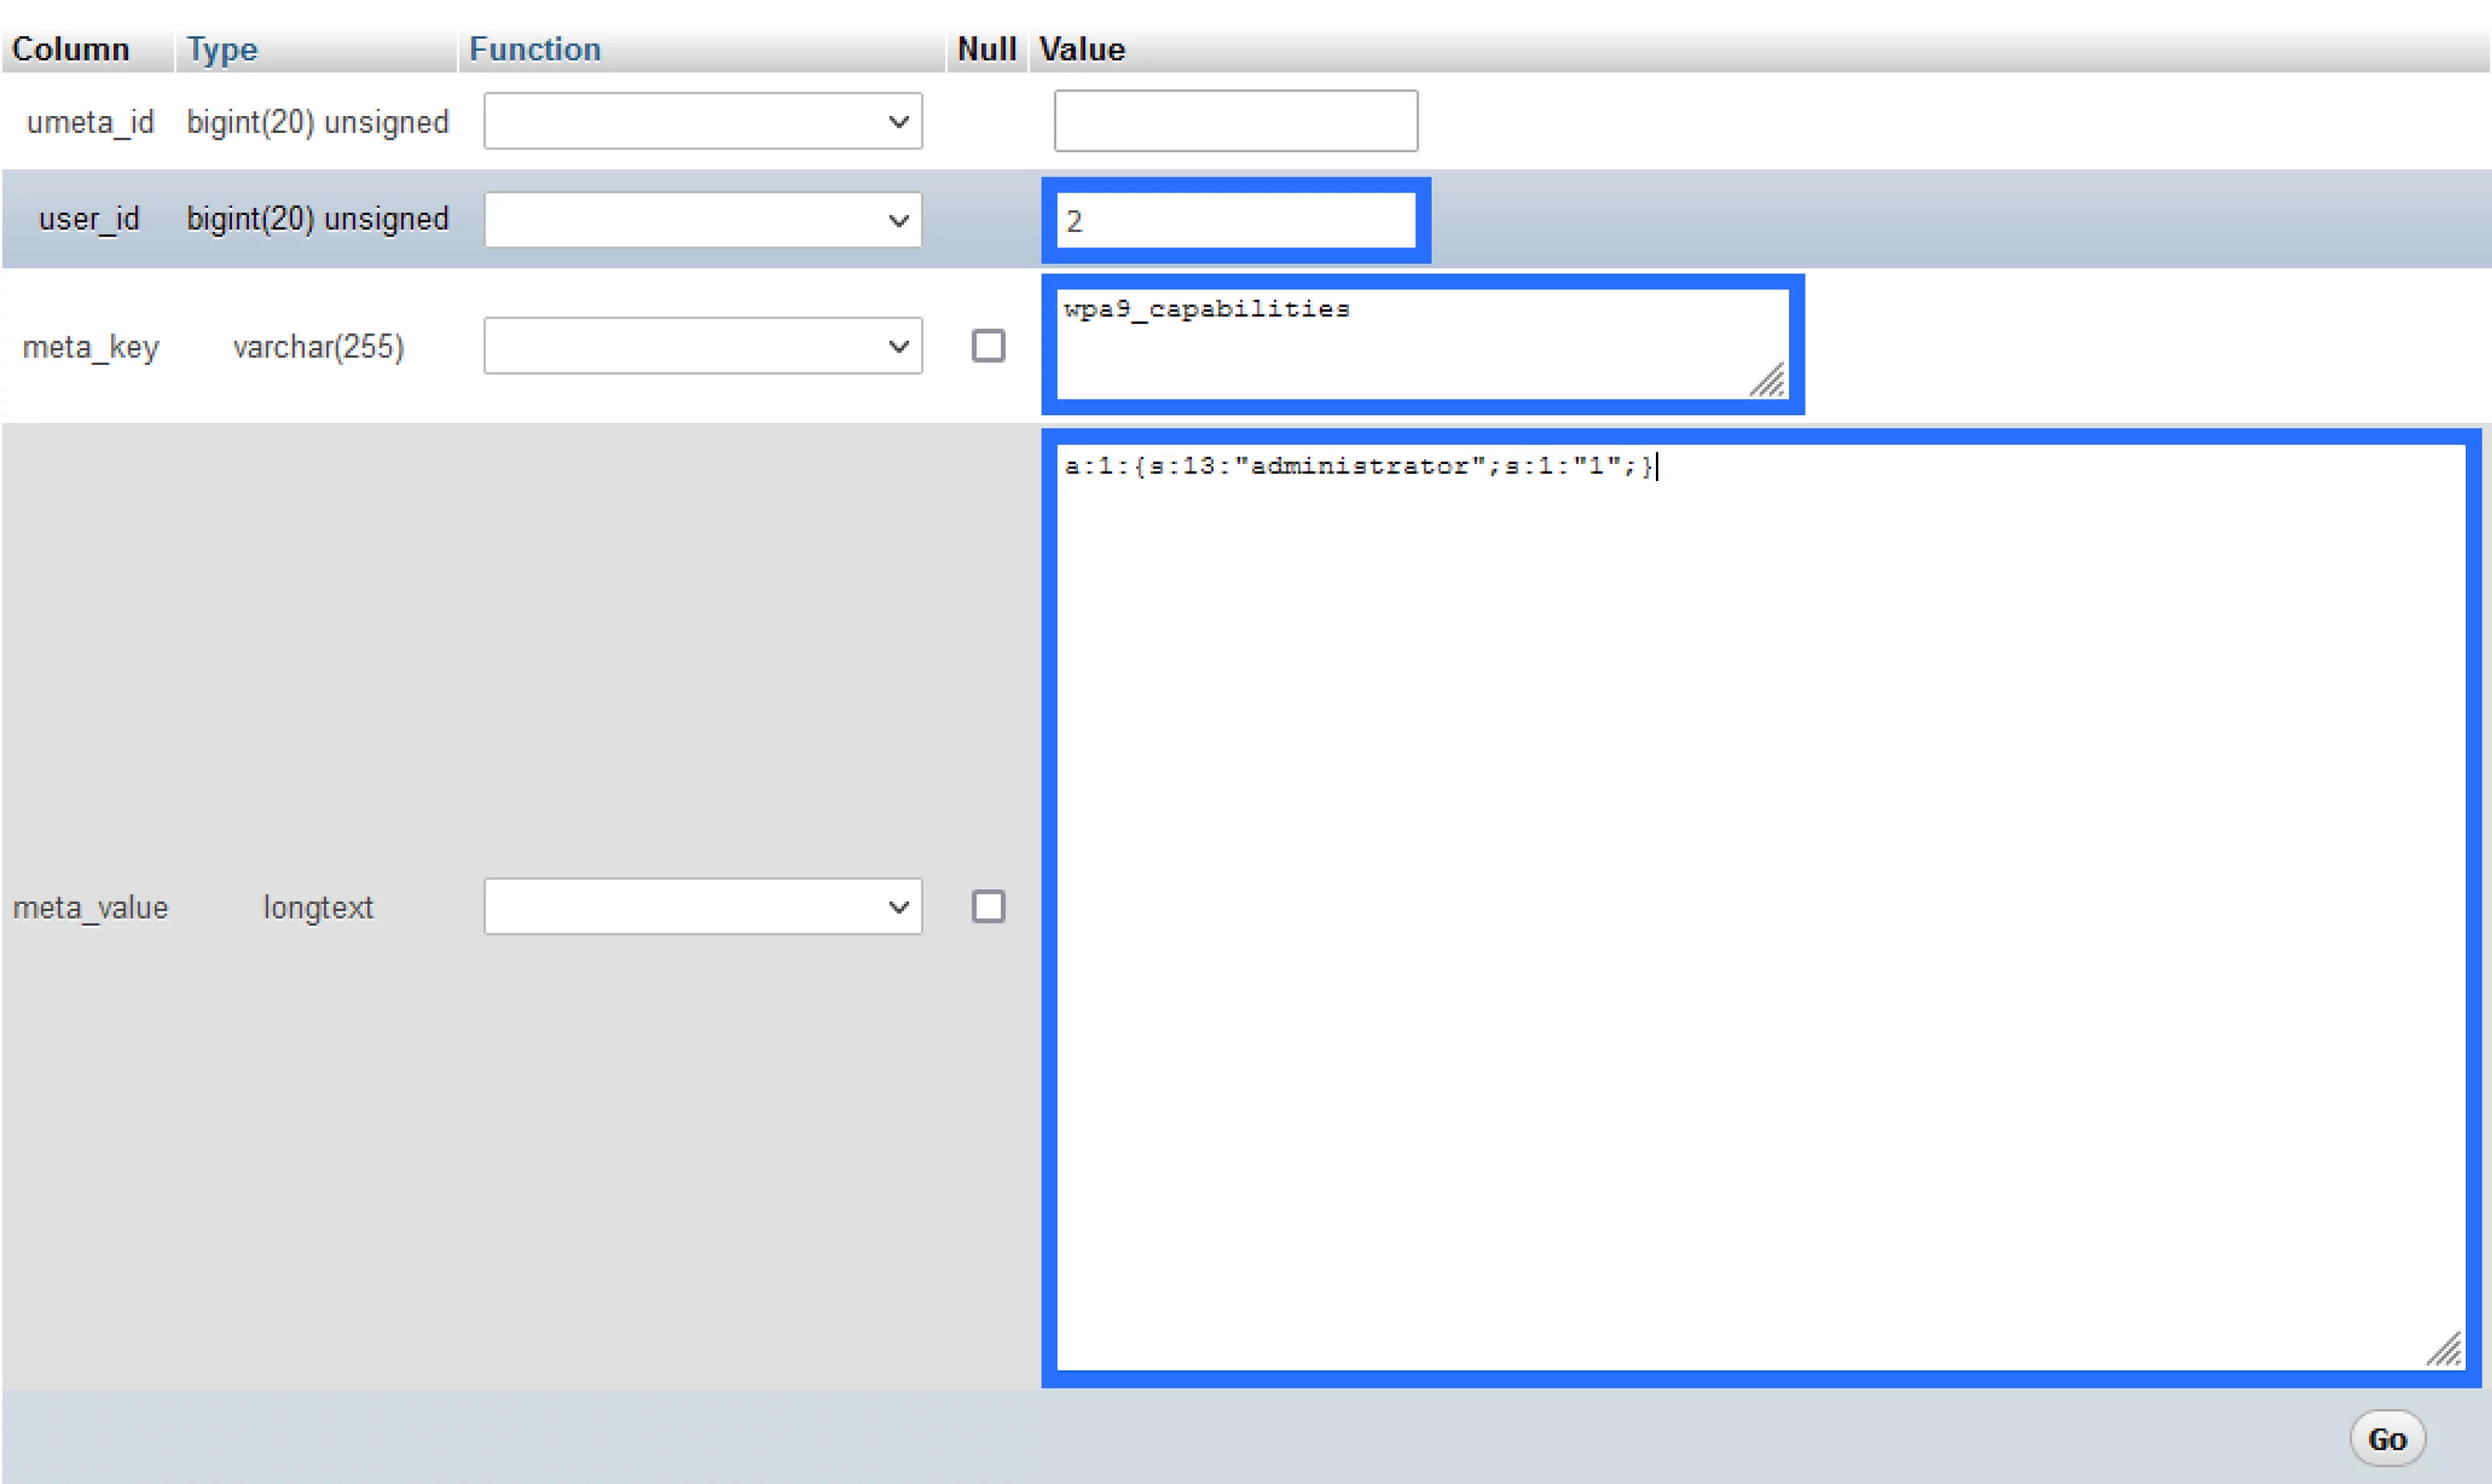
17. You can enter your new user login details on this page.
Refer to the list below for each required section.
user_id: Fill in the user ID you created in the previous step. (In this case, the ID was “2”.)
meta_key: The prefix of your table name followed by capabilities. By default, database tables usually start with wp_. However, in this case, the preluded text is wpa9_. Therefore, we would enter the text wpa9_capabilities.
meta_value: Fill in the field with a:1:{s:13:”administrator”;s:1:”1″;}
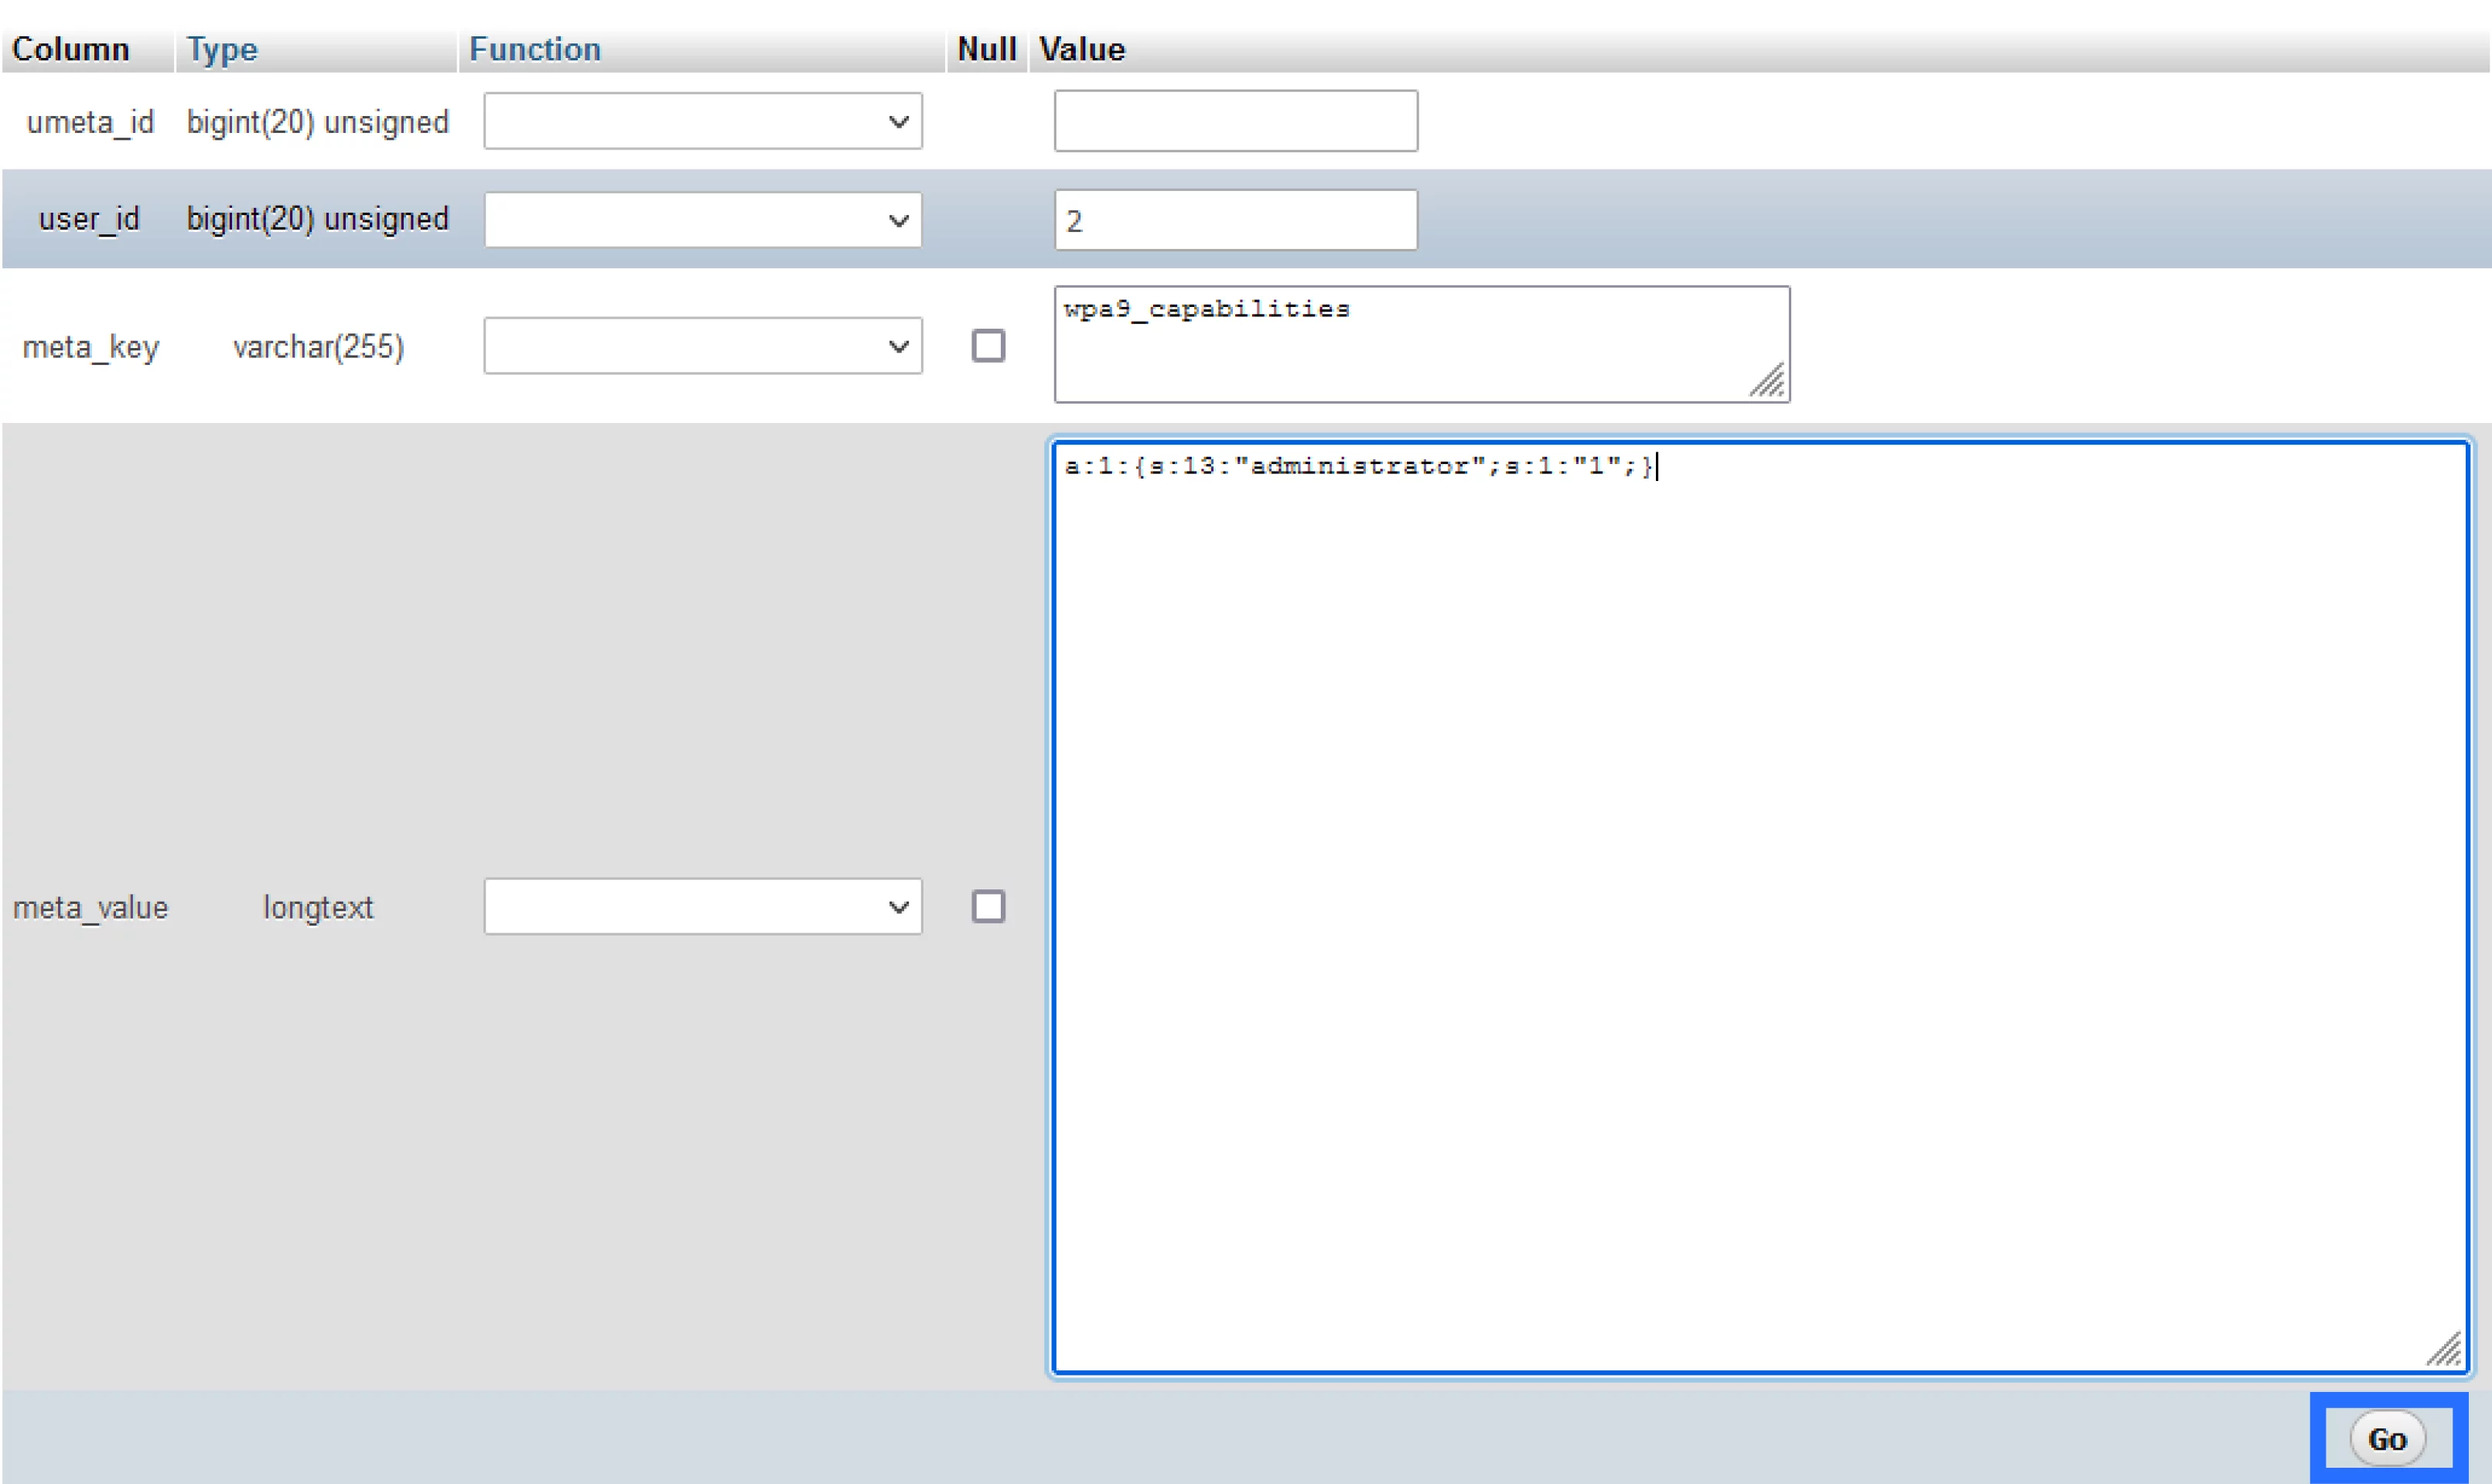
18. Once completed, click the Go button.
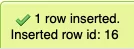
19. You will be taken to another page advising that the entries have been added to the table.
You can now log in using your new WordPress login!